Modifying a Harley Benton PB-50
It's
a
long time since I played on an ordinary, four-string Precision-style
bass. Instead, I've been playing five- and six-string basses over a
period of probably 20 years. Those included a five-string Hohner
headless bass, a Schecter five-string, an Ibanez six-string and an
Ibanez five-string fretless bass. All of those also had active
electronics, including a battery which died if you forgot to pull the
cable out. Plus they had so many ways of adjusting the sound that you
got lost and spent time on trying to find the perfect sound instead of
trying to find the perfect groove.
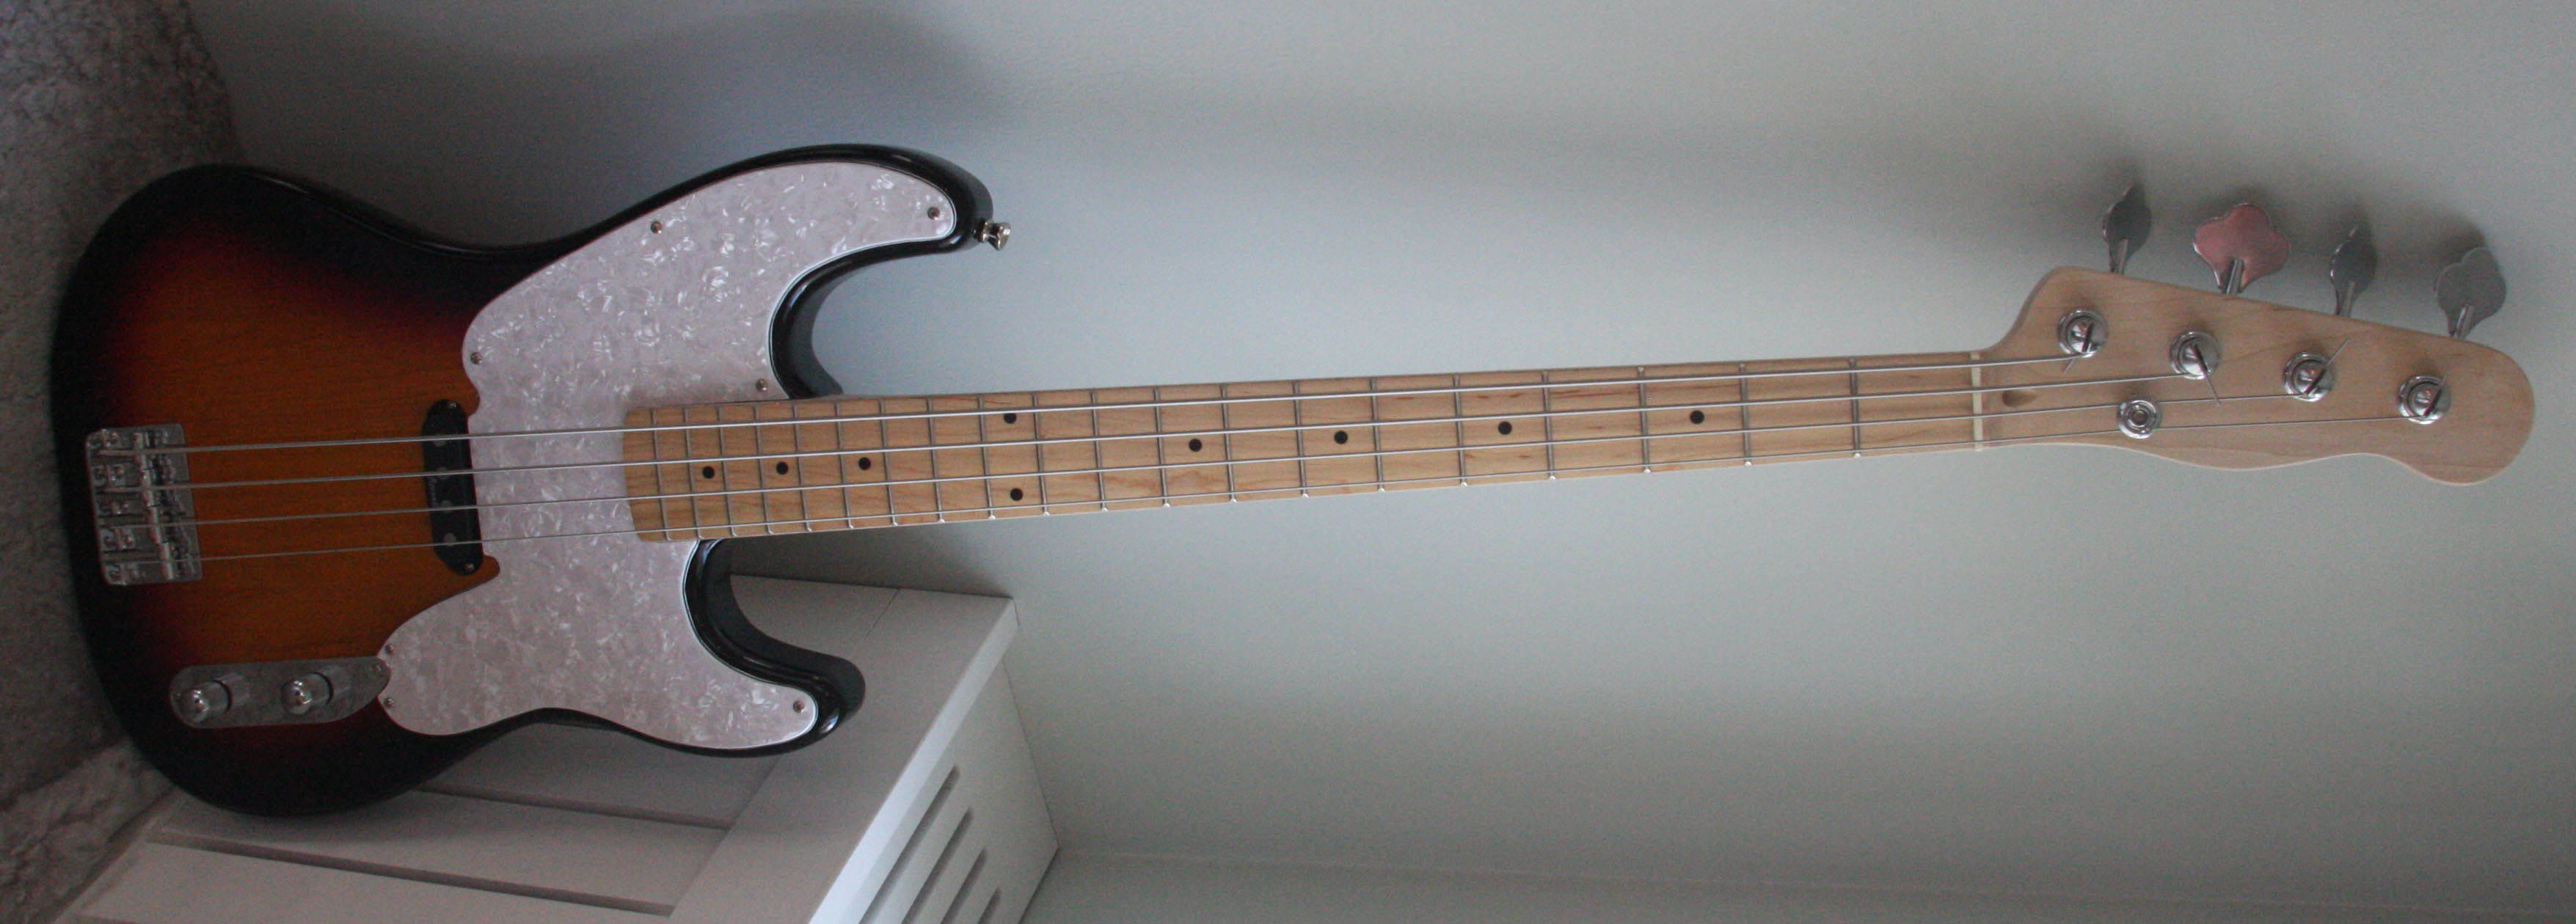
To make a long story short, I decided it was time to go back to basics. As you can see on my 'Gear' page, I bought a Fiesta Red Precision bass a few years ago and put my old fretless P-bass neck on it. I put the original neck back on it and started to test it to see if I would be comfortable with four strings. And I can say it took some time, but the overall feeling was that, yes, a four-string P-bass with one pickup, one volume control and one tone control is the thing I want.
Next came the urge to have a bass that looks like the one Sting uses. A fifties Precision bass with a Telecaster-type head. I started to look for such an instrument and found out that of course, a real fifties Fender P-bass is over my budget. However, replicas have been issued both by Fender and Squier. Hard to find and not very cheap either.
I also looked at web shops where you can buy guitar parts. We have a couple of them in Sweden: gitarrdelar.se in West Stockholm and gmf.se in Gävle. Sure, I could have bought parts from them, but the total price would have been quite high.
Then I started to look at web shops like Thomann and Bax and stumbled over the perfect solution: Thomann's own brand, Harley Benton, makes a four string Precision bass called the PB-50 that looks quite good, even though some modifications were necessary in my opinion. But the best thing with it is the price: A little over 100. First, I thought that with that price, it can't be any good. But I read and looked at several reviews and tests and everyone said that they couldn't understand how anyone can build such a good instrument for that kind of money. I thought, okay, what can go wrong? And I can always buy a better pickup, better hardware etc.
So,
here comes the illustrated story about my modification of a HB PB-50!
Unboxing and first test
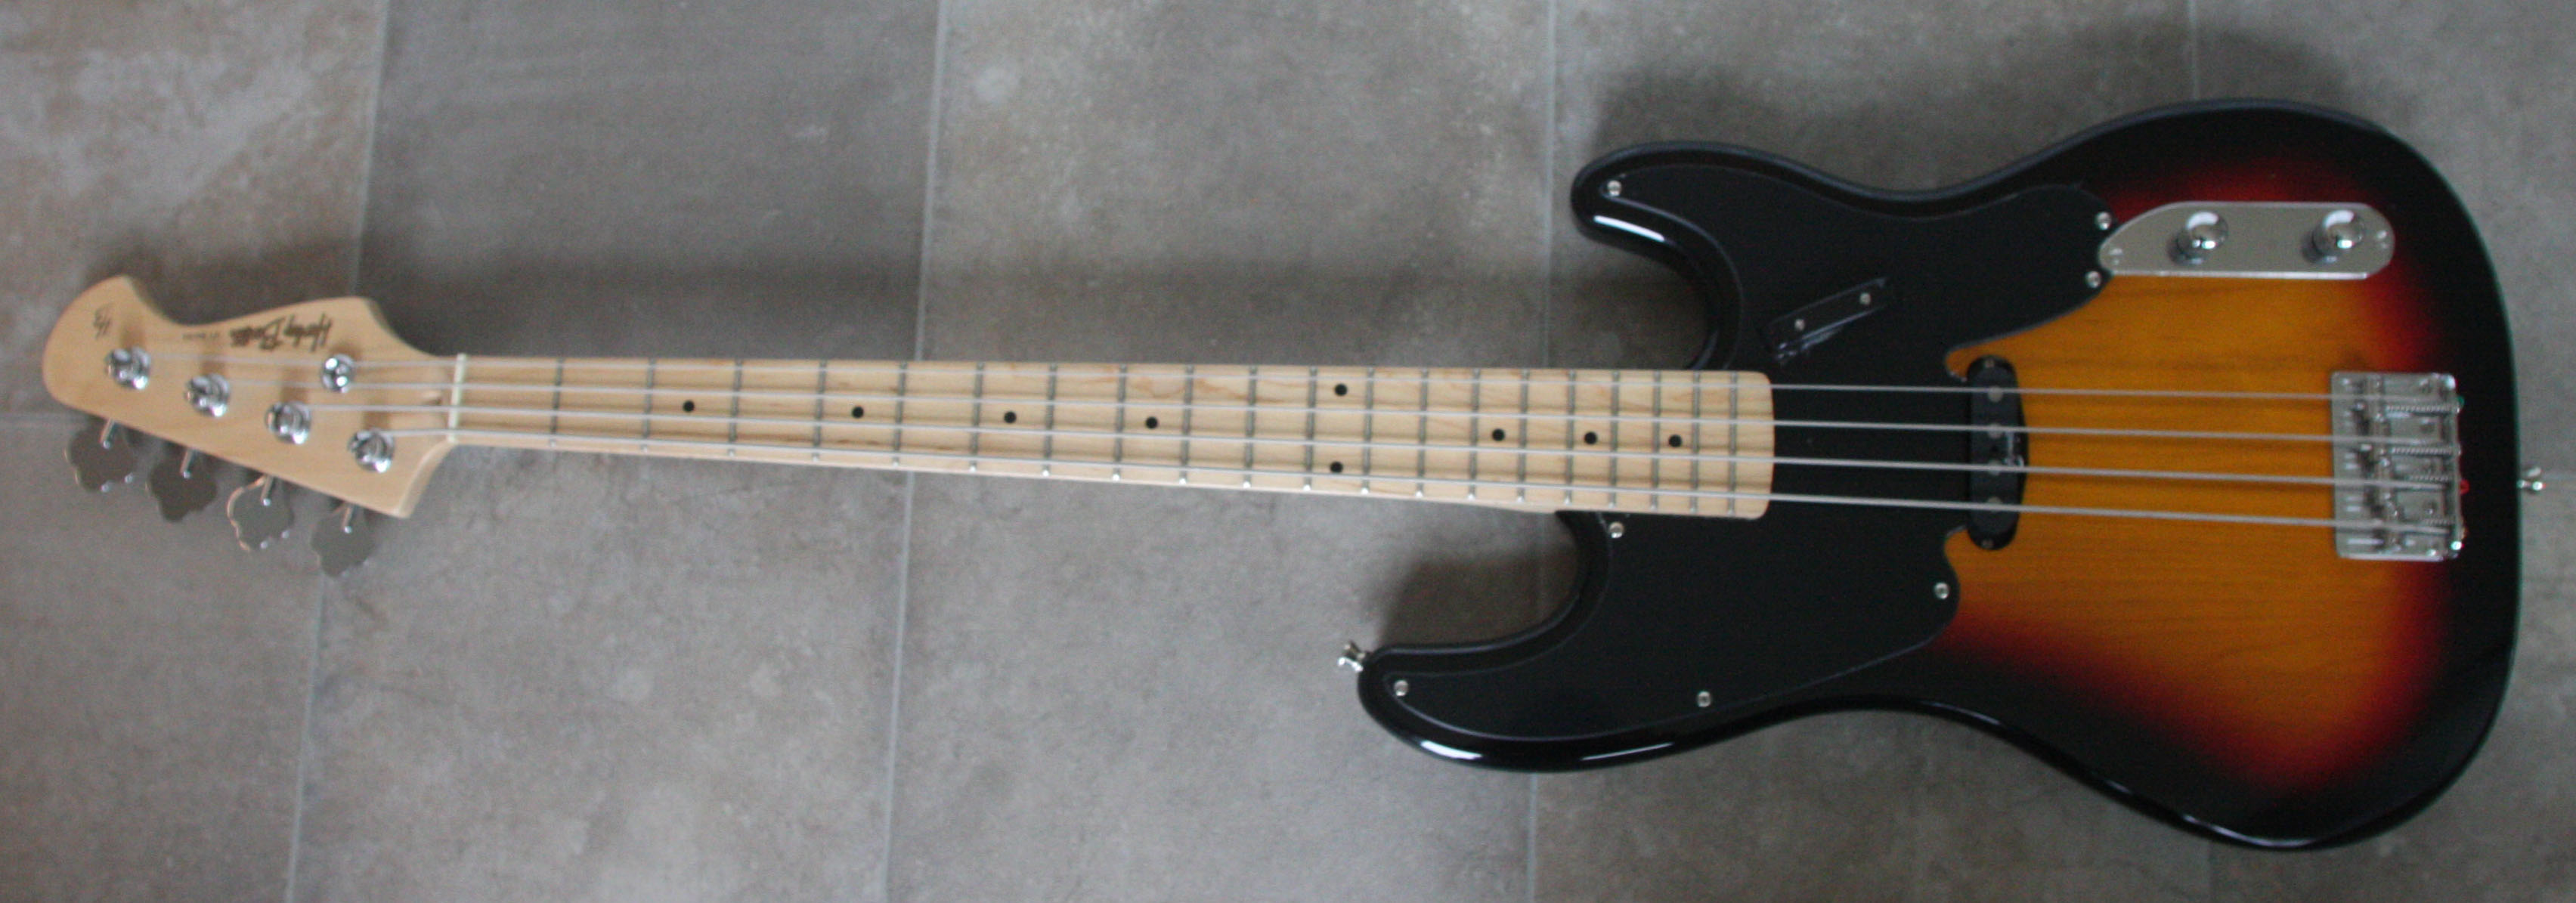
The
bass
arrived on a Friday afternoon. I unboxed it and brought it down to my
basement studio. After some tuning, I started playing it and the
thoughts Id had about maybe buying a new pickup
well, the punch in
the Roswell pickup is fantastic! A little like an old DiMarzio I have
in a home-built short-scale bass with a neck from a Fender Music
Master. I actually had to turn the gain on my Ampeg V4B down. And I'm
used to active electronics...
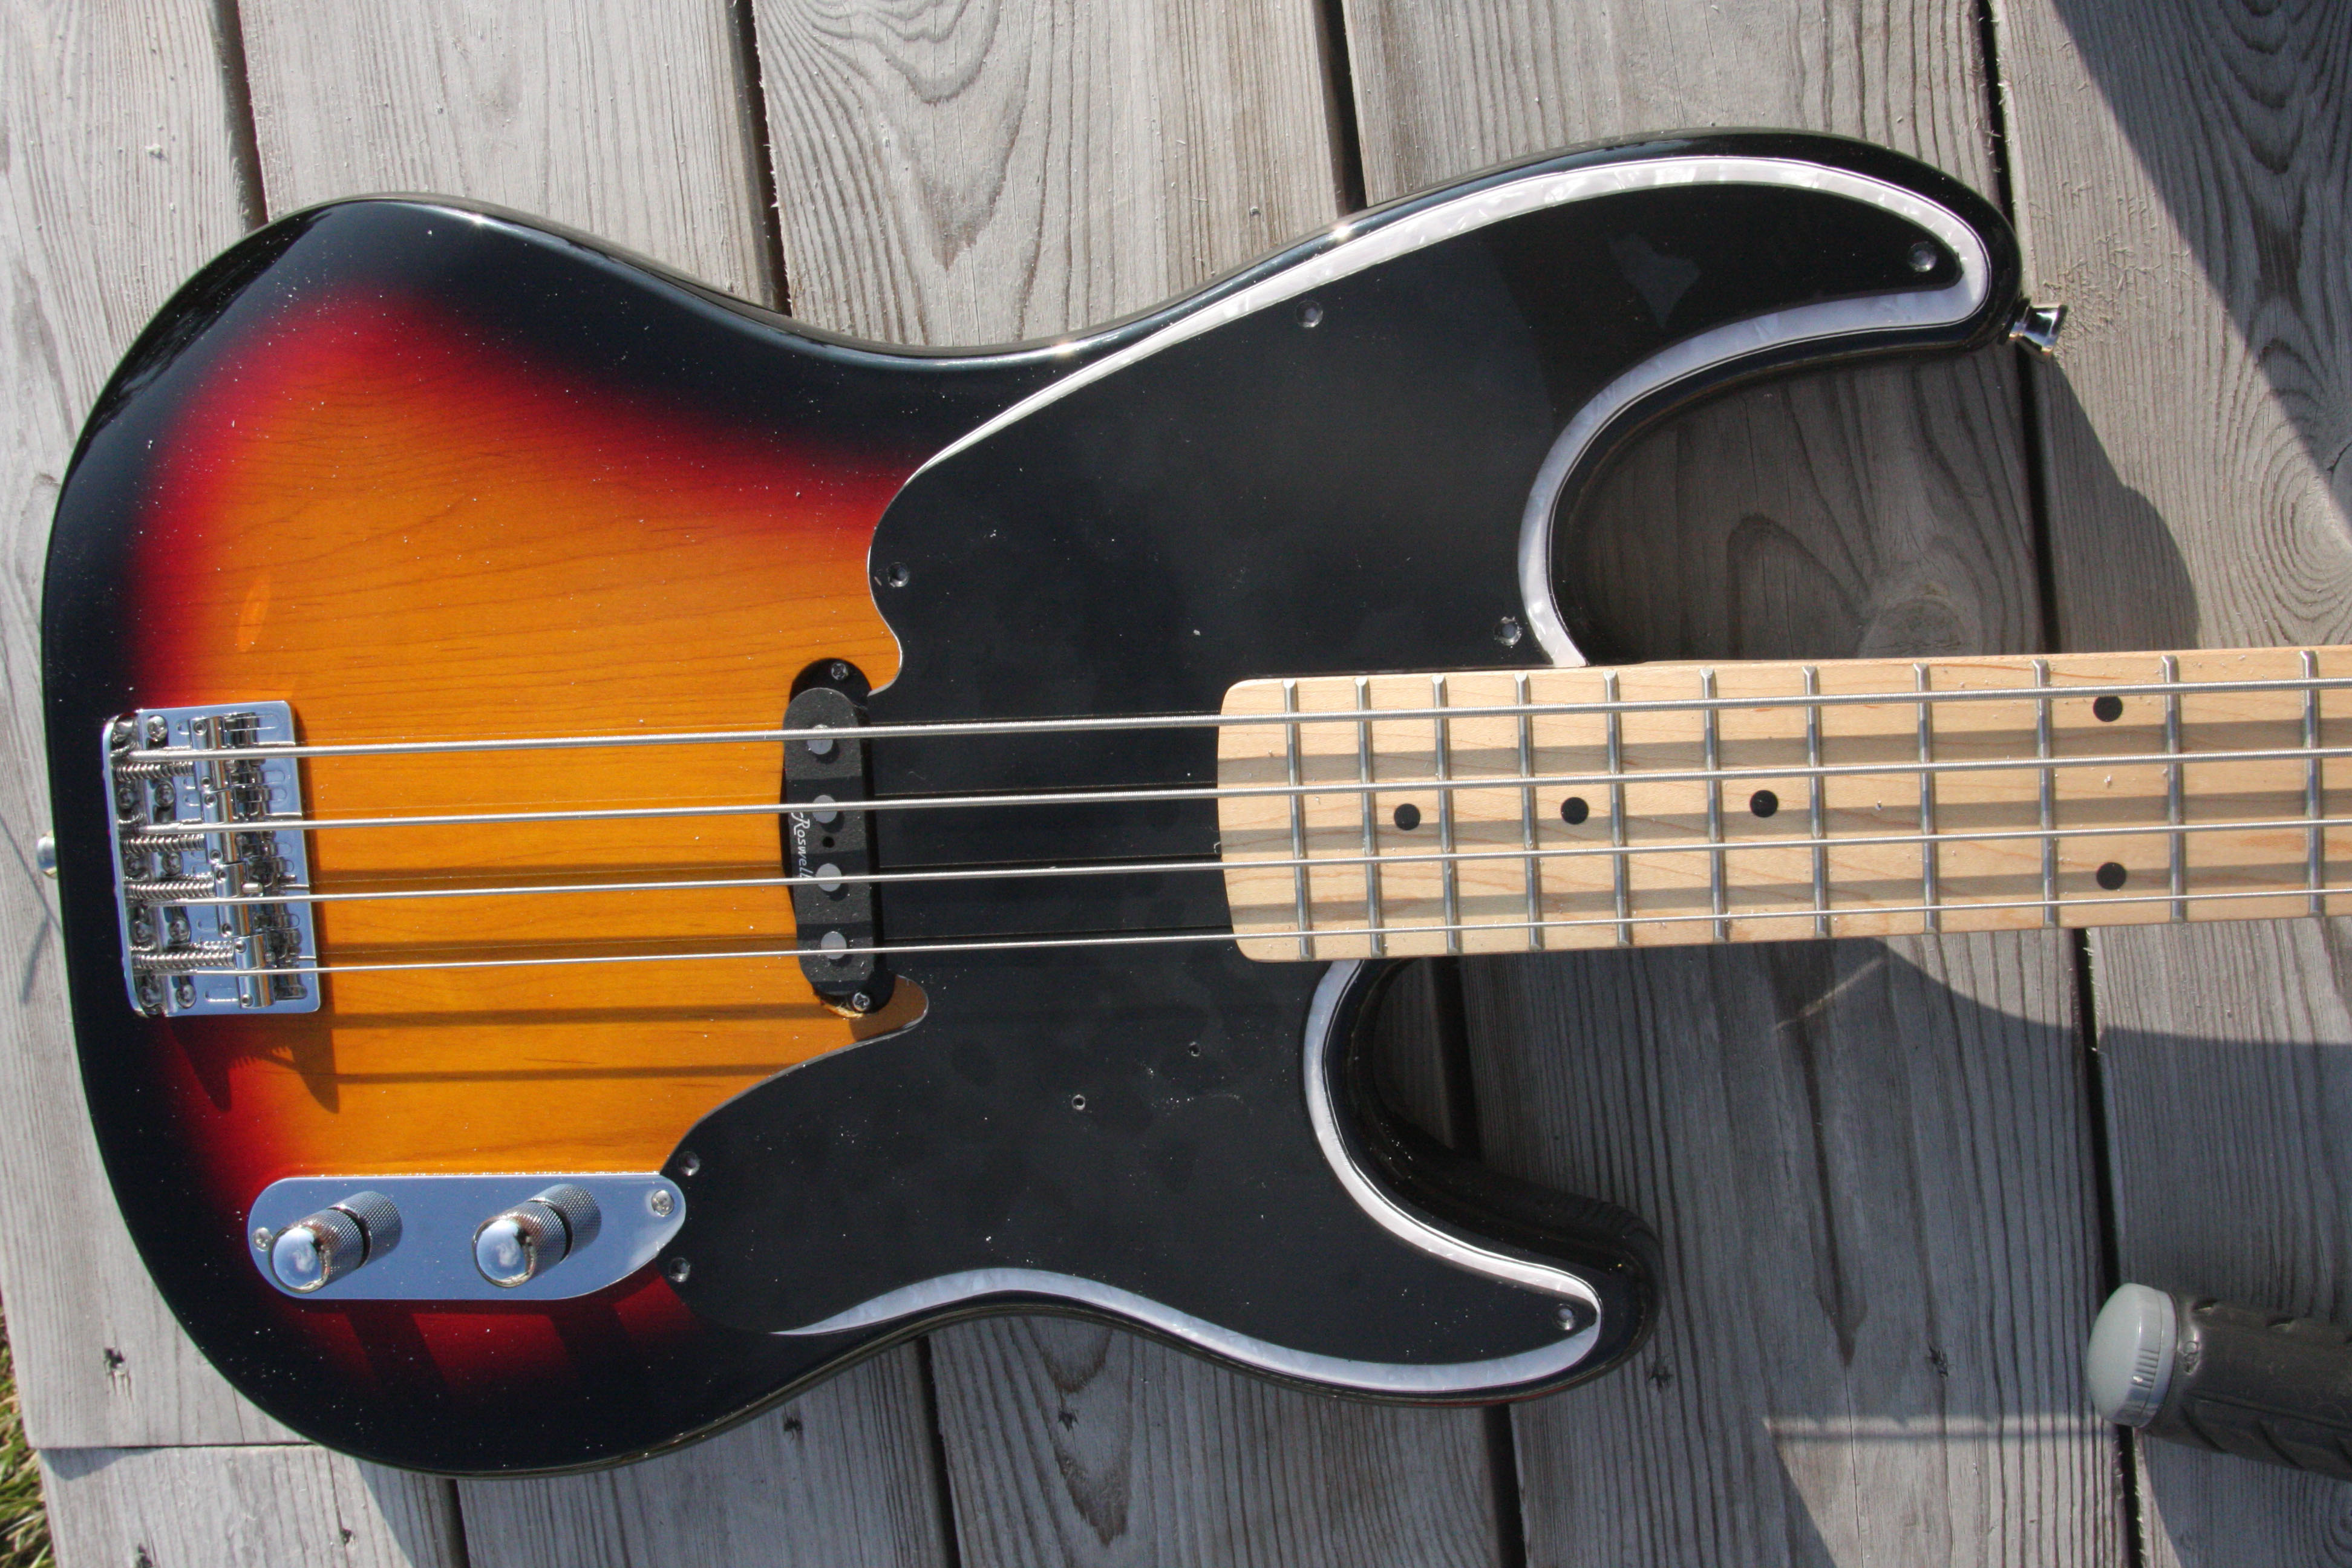
This is easily one of the best basses Ive ever played. The intonation
was okay but I made some changes on the G and E strings.
Pick guard
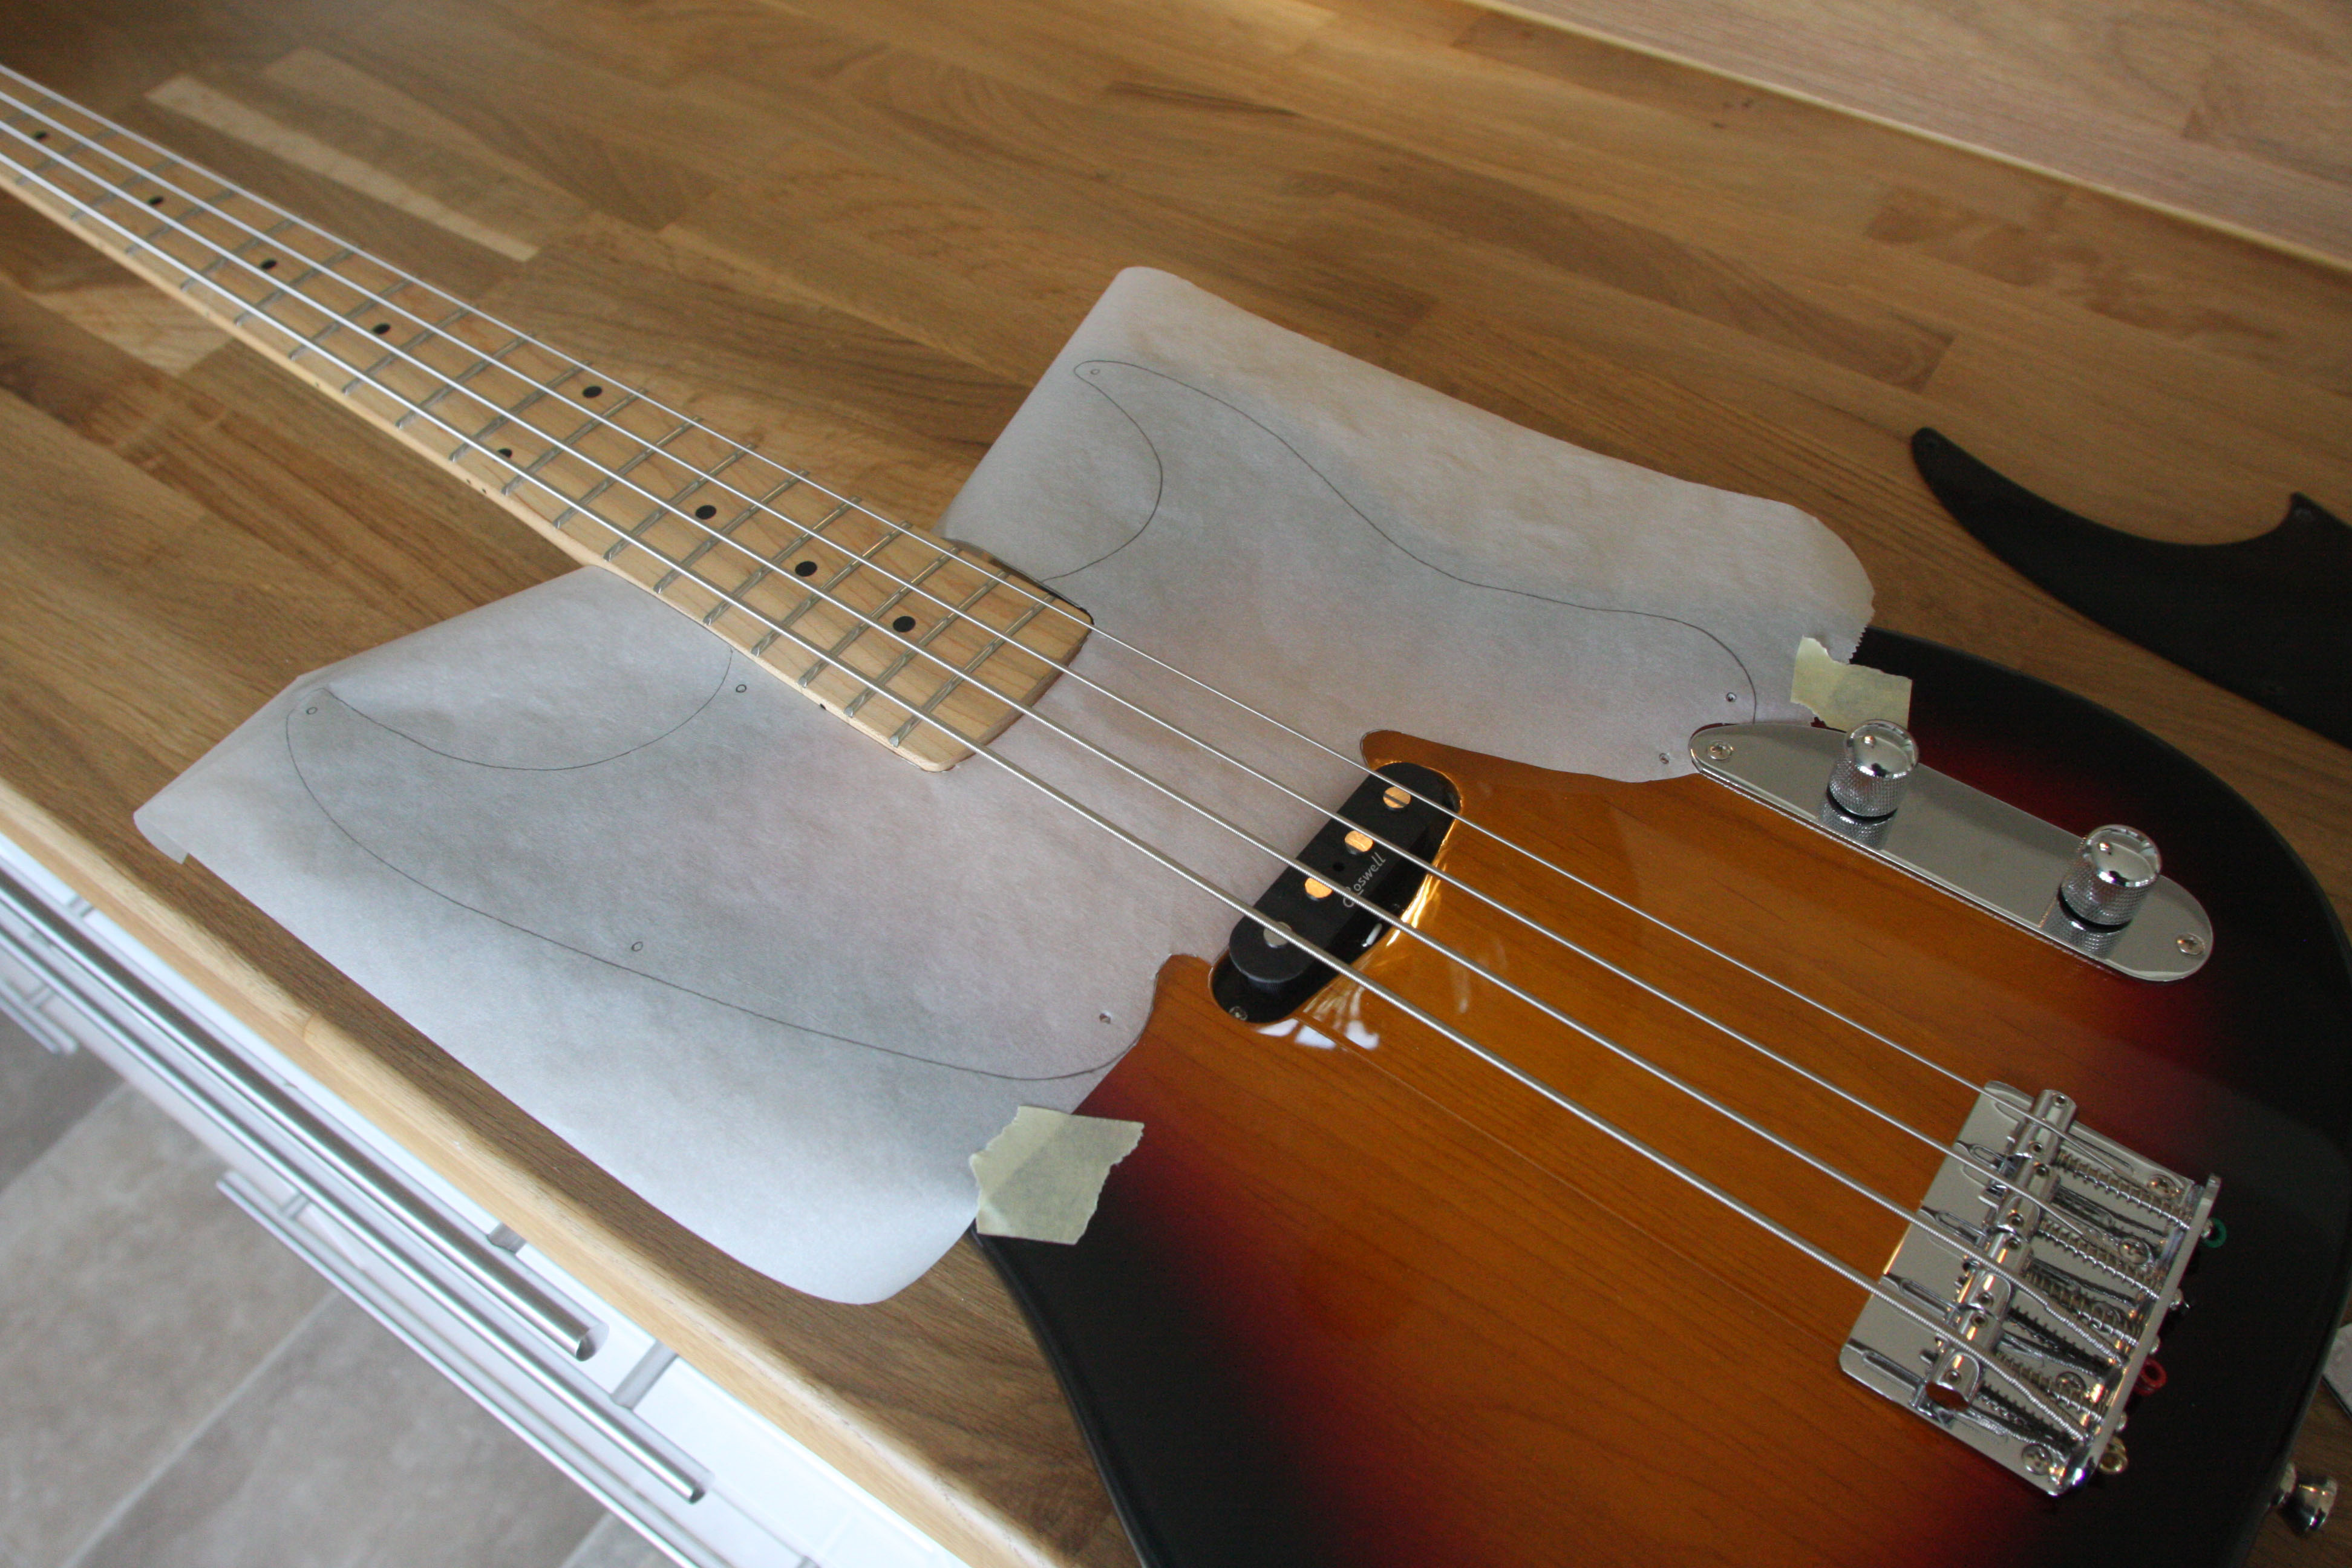
Then I started off on the first part of the re-build project: A new pick guard. A couple of days ago, I bought a square piece of white mother-of-pearl, three-layer material. Now, I started to make a template for it from thin, translucent paper.
You might think I just copied the original? No, I didnt. Ive been
comparing the PB-50 with original Fender PBs from the fifties. And
theres a small, but significant difference. On the HB PB-50, the
horns on the pick guard are quite sharp. On the old ones, the horns
are more rounded. I compared images and found that the edge of the old
pick guards are closer to the edge of the body. You can see it in the
picture above, where I laid the original pick guard over my new one.
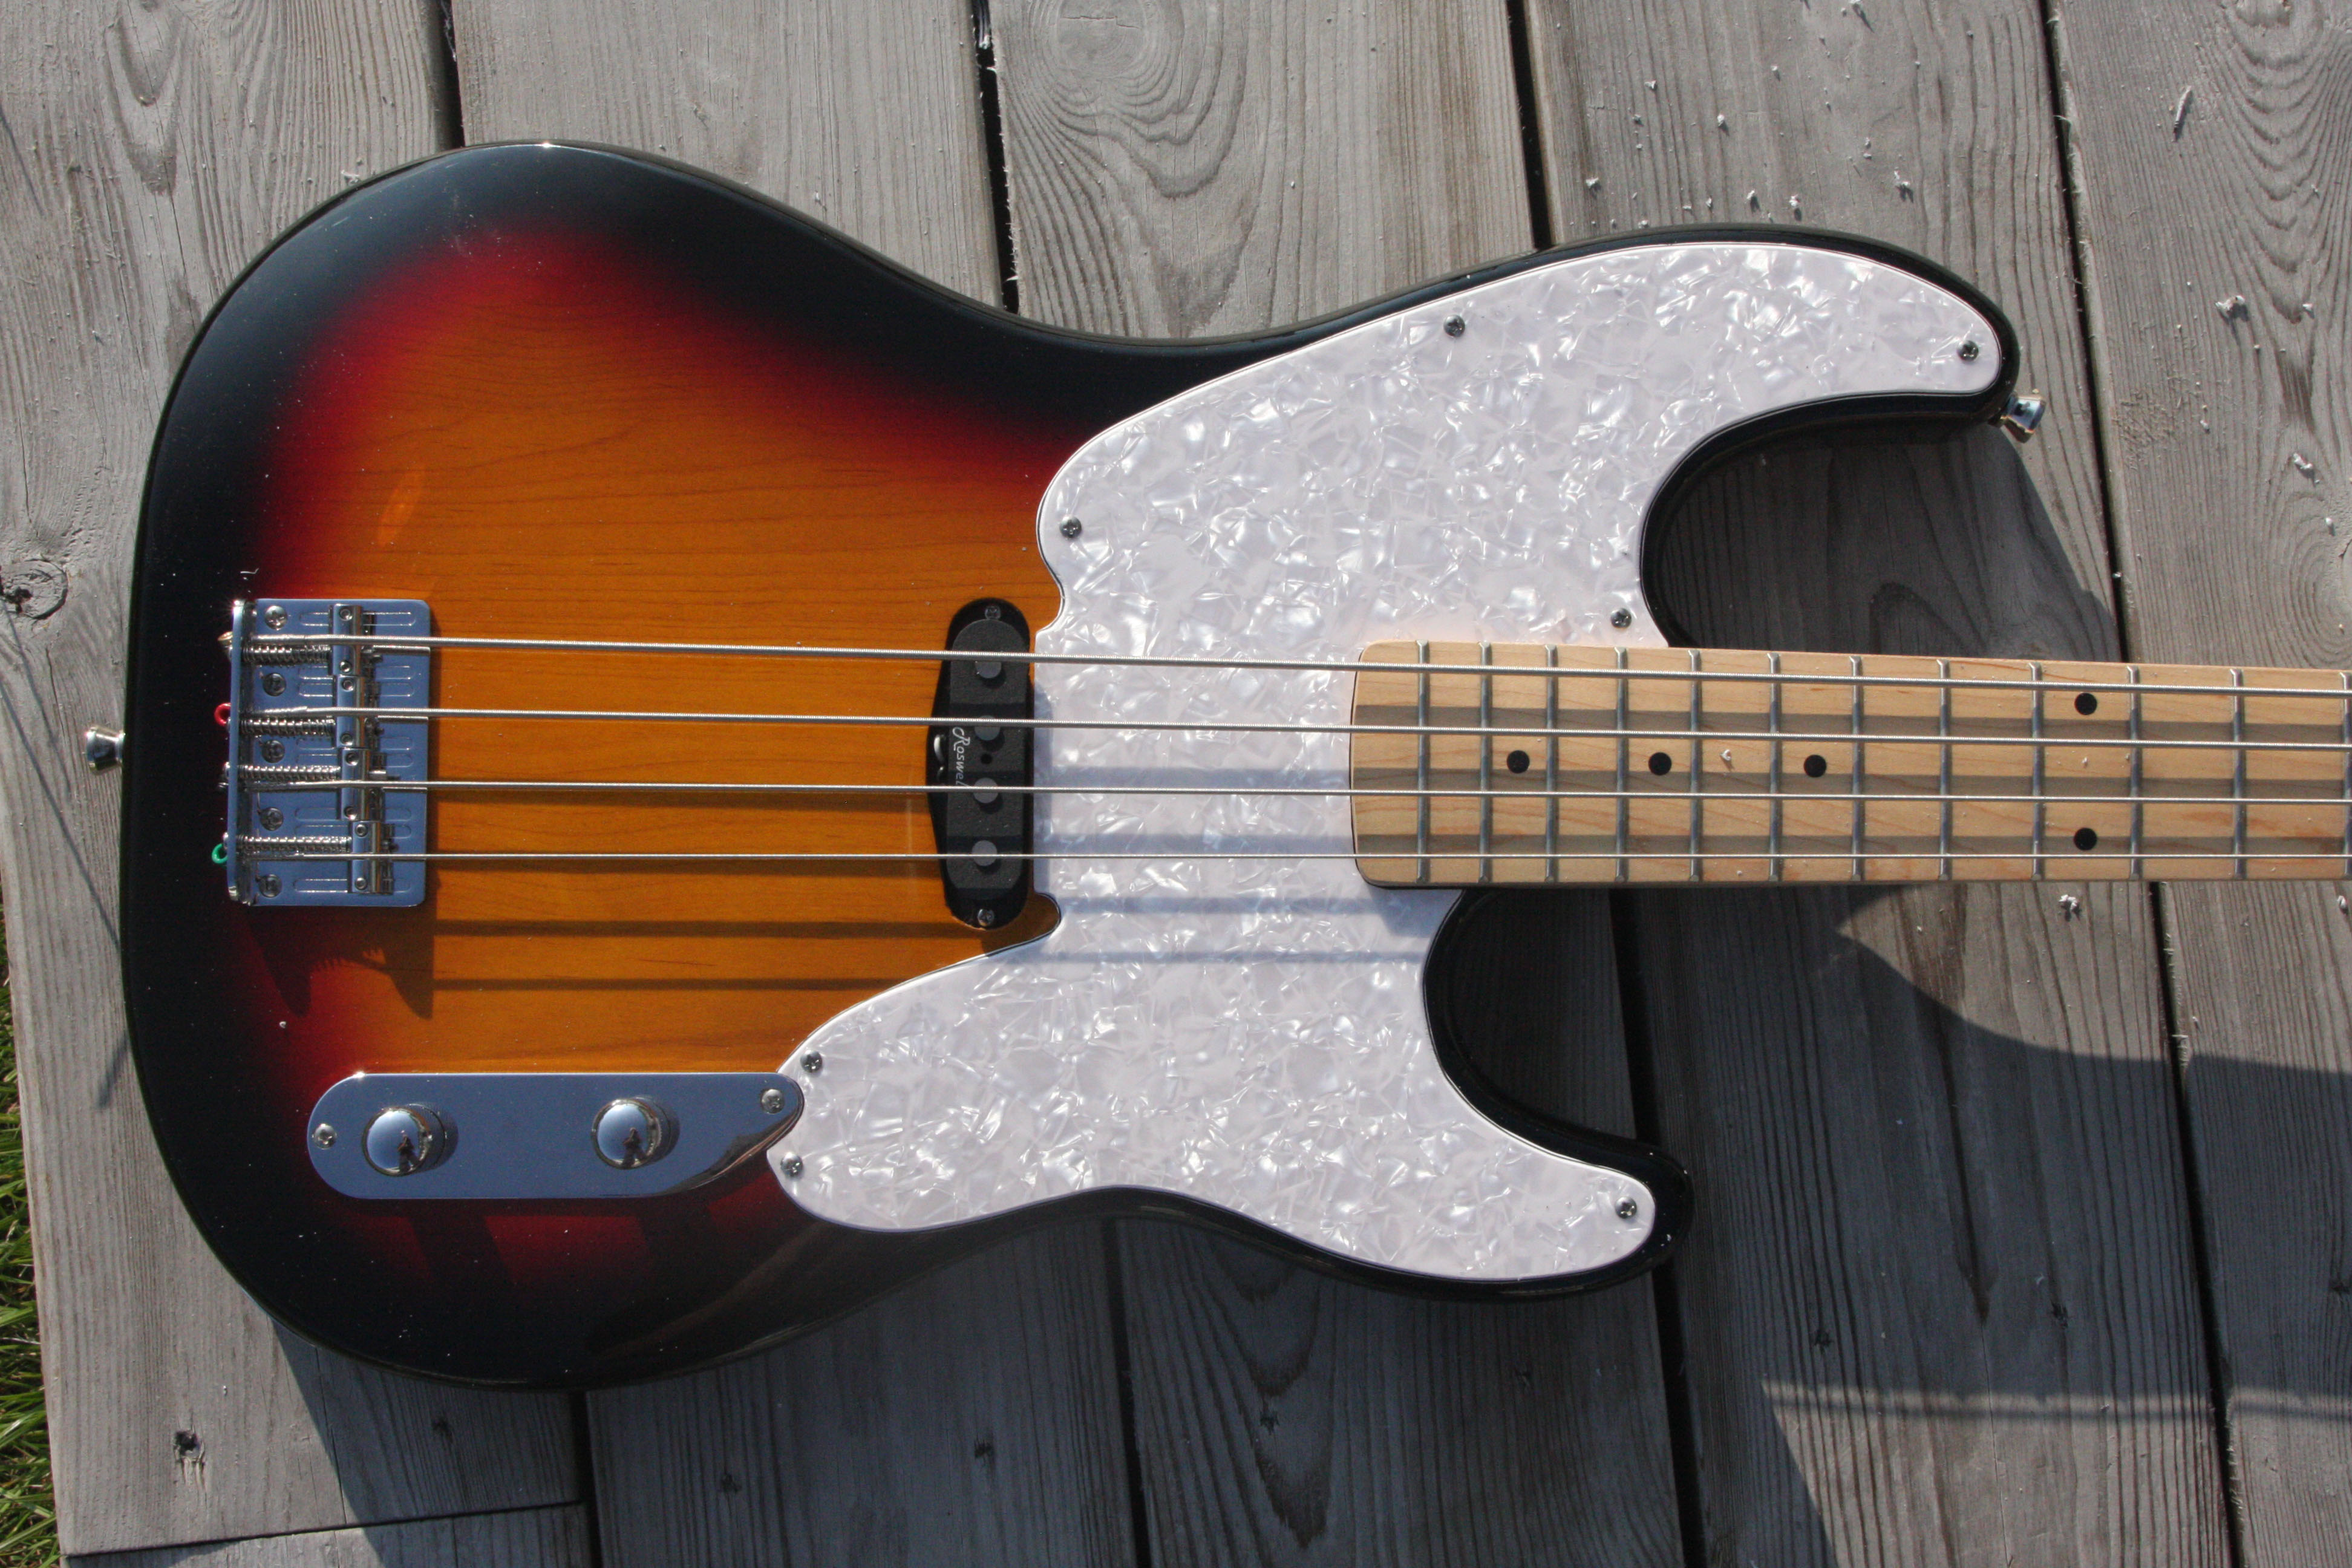
I cut the mother-of-pearl material with a jigsaw, filed it at a
45-degree angle and then sanded the new edge. If I may say so, the
result is beautiful!
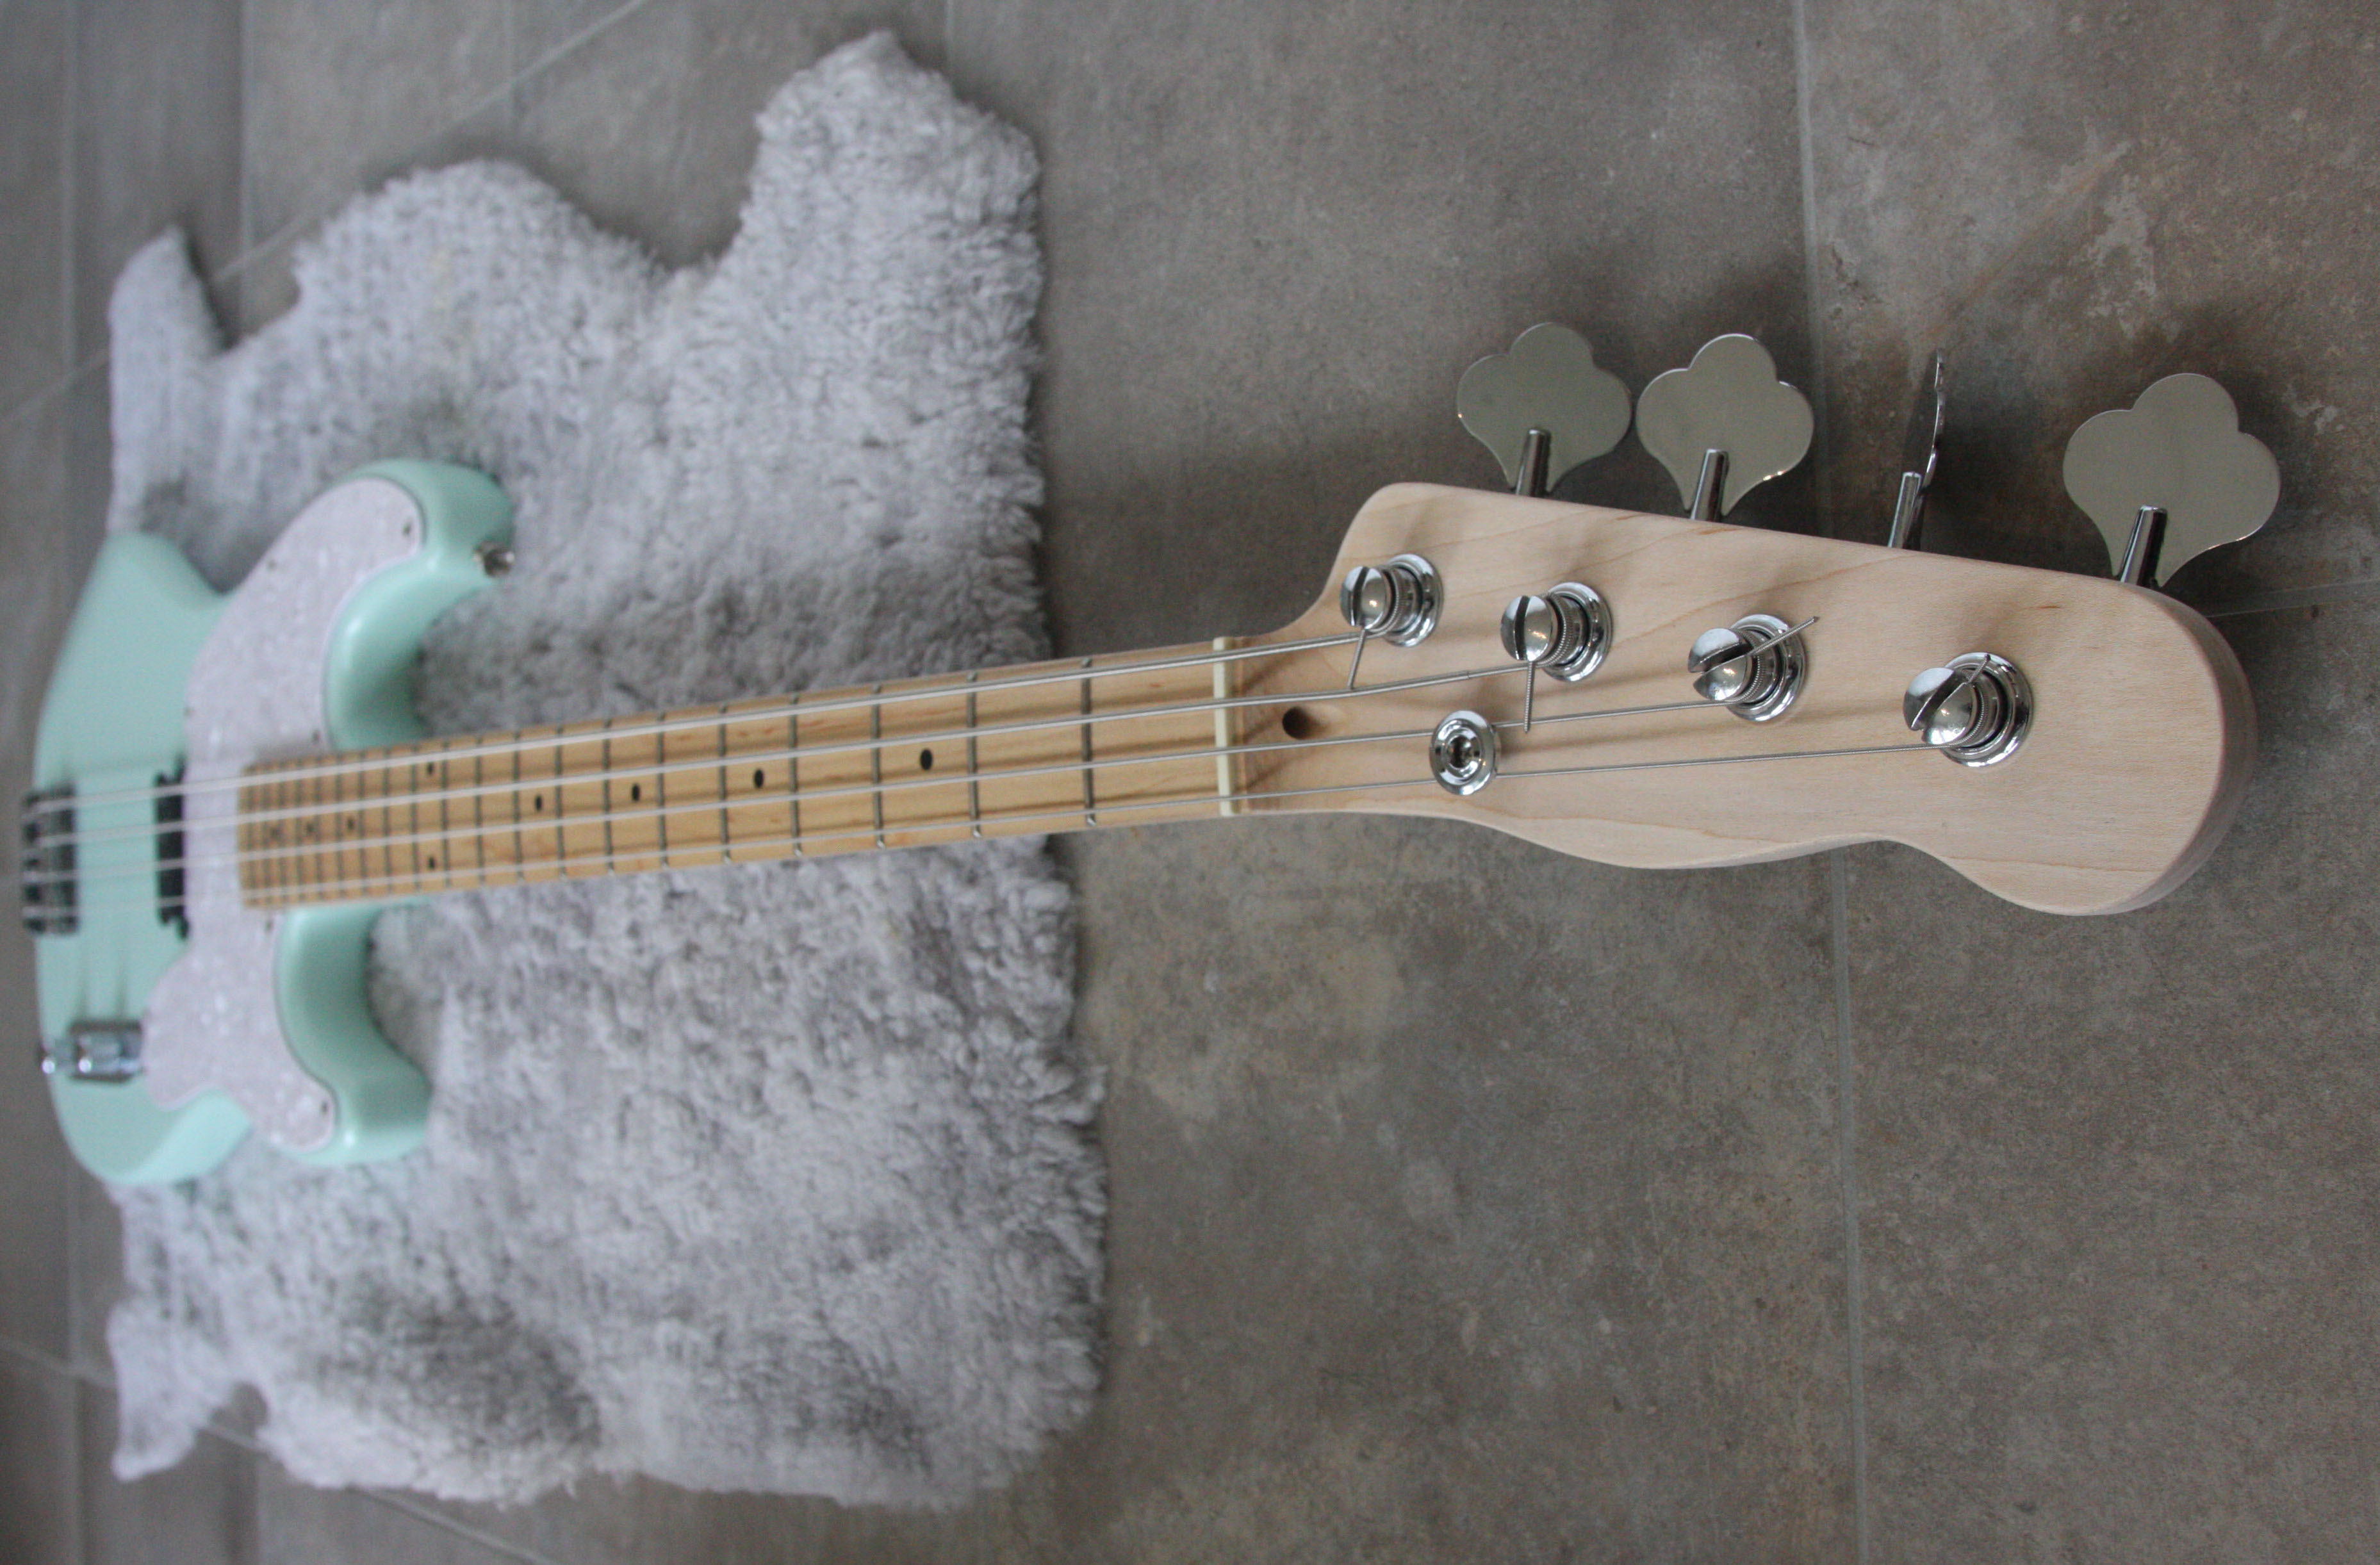
Telecaster head
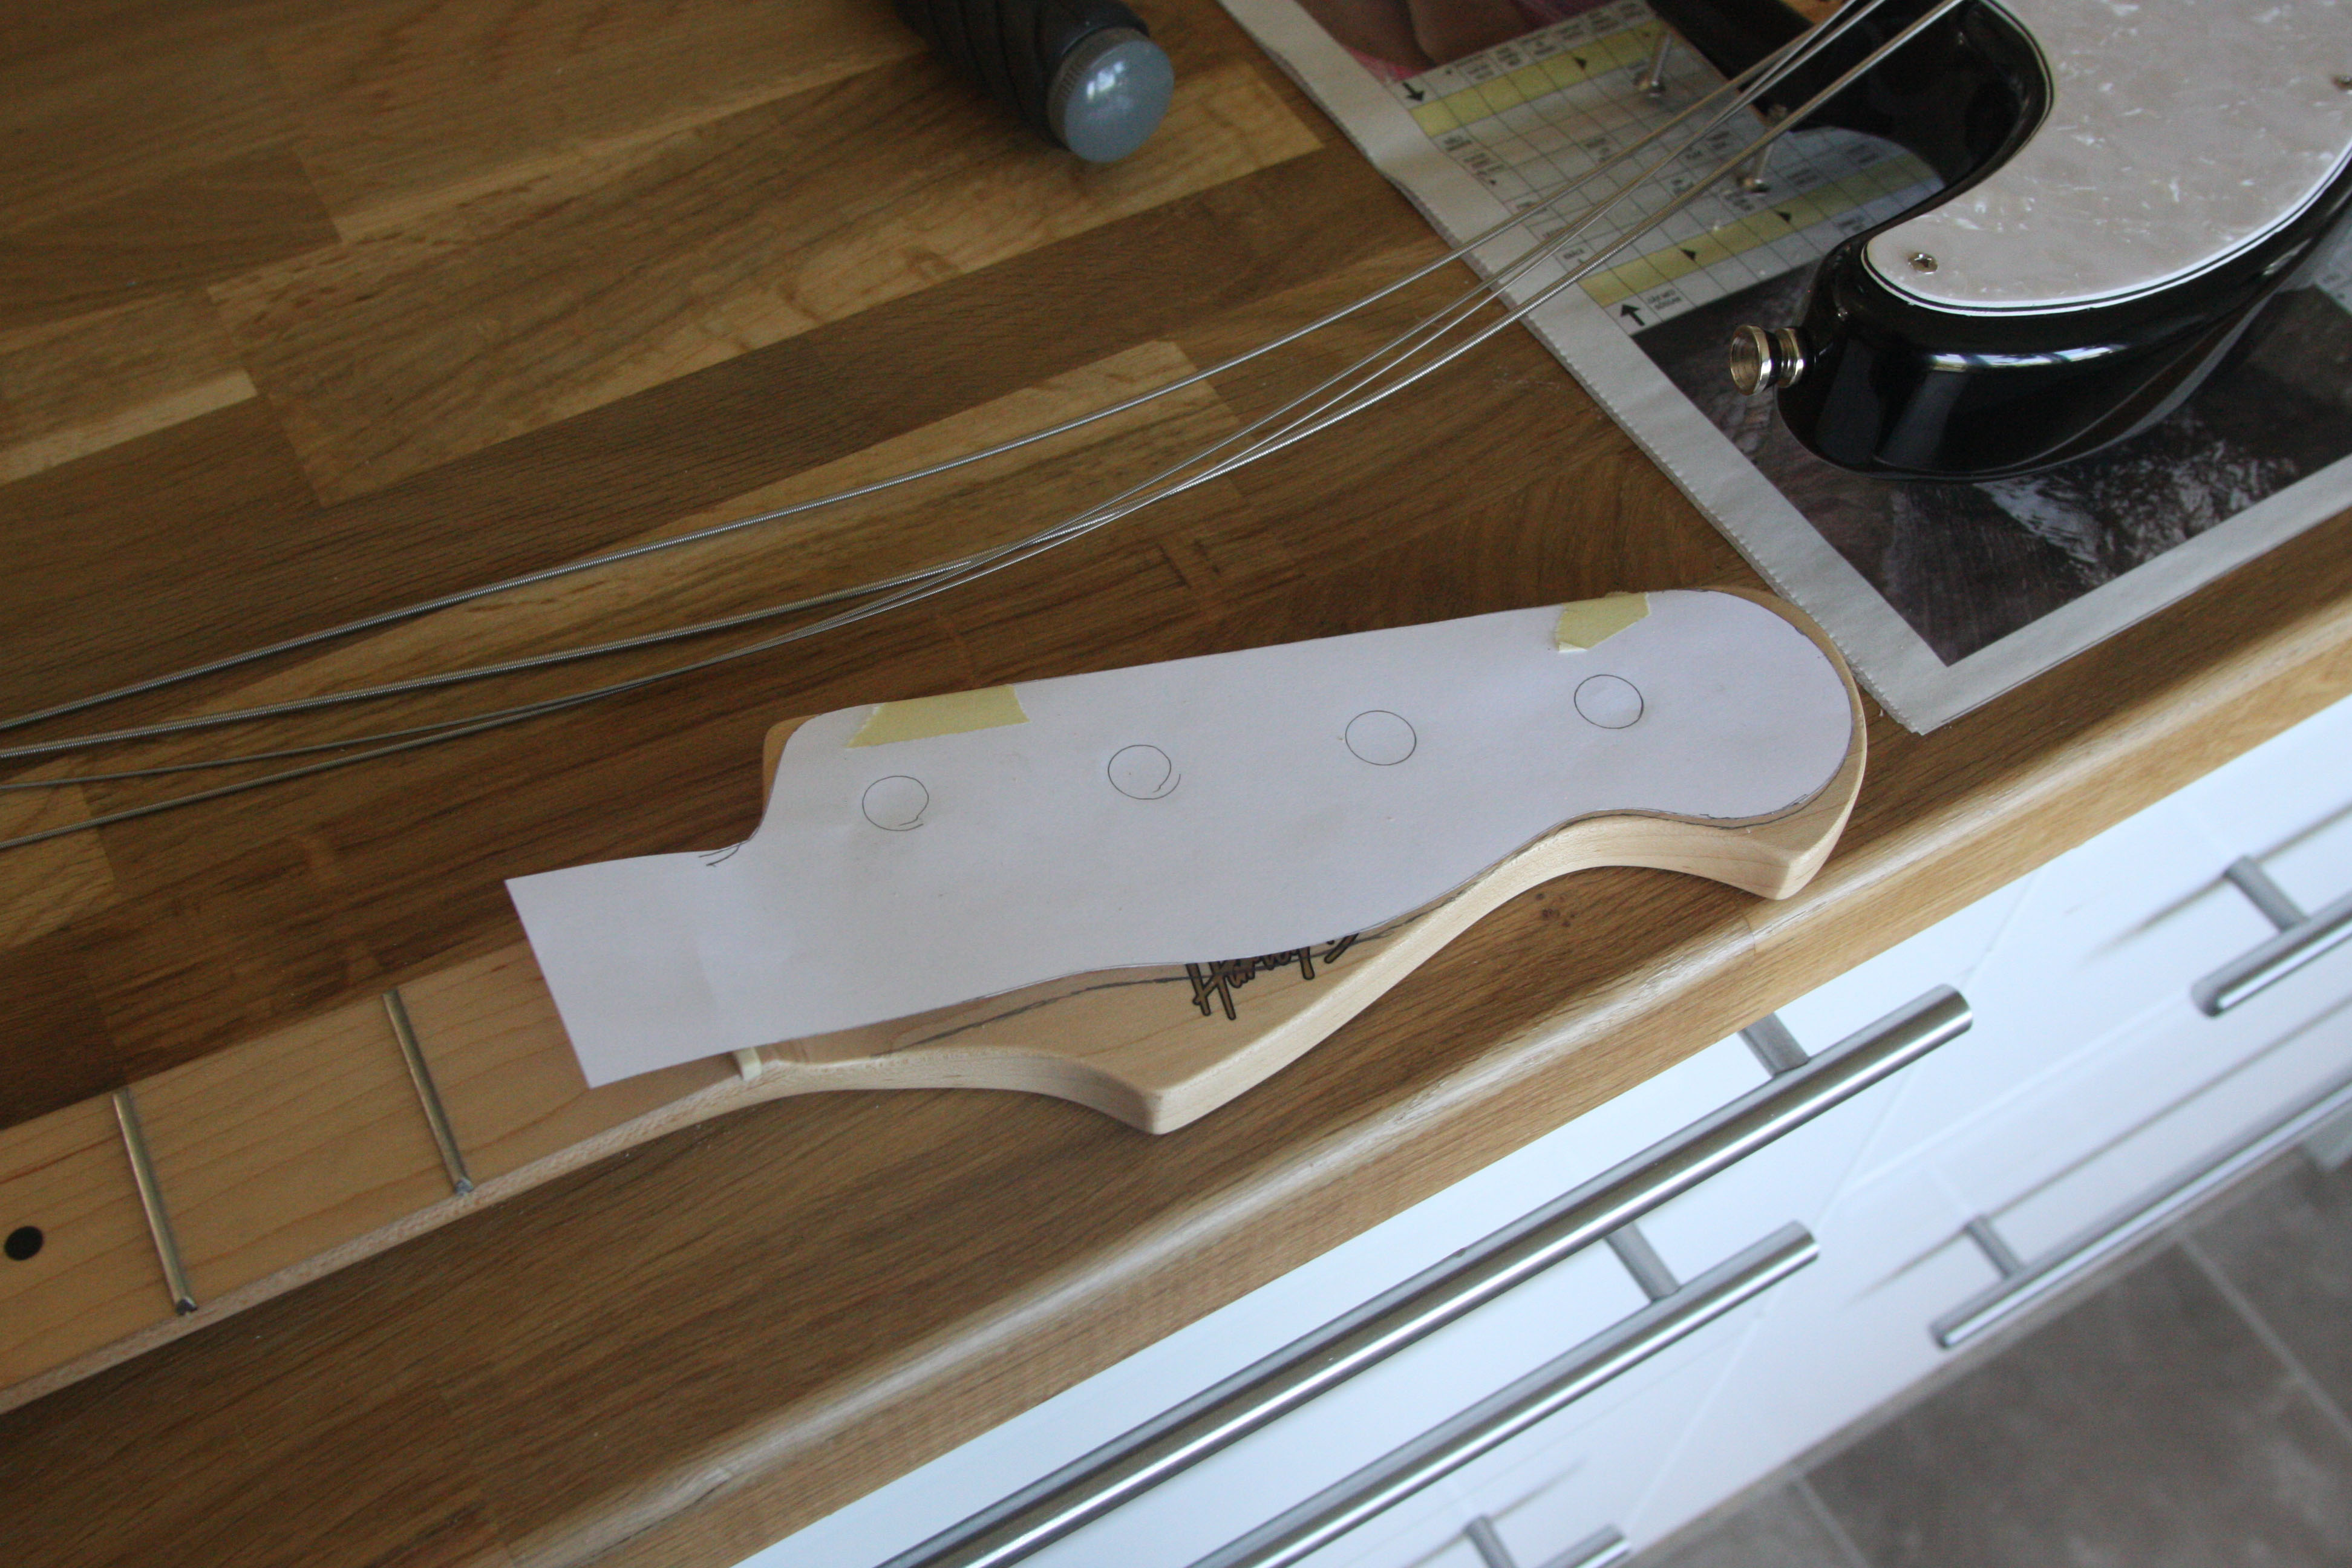
I was lucky the other day when I went to gitarrdelar.se, an Internet guitar parts shop that has a small store in West Stockholm. I bought the pick guard material and nitro-cellulose paint there. And on the counter was a Telecaster bass neck. I told the guy behind the counter that, I wouldnt mind having the outline of the head on paper He actually put an A4 paper under the head and drew the outline for me!
Well, without much afterthought, I unwound the strings and dismounted the neck. Removed the hardware and put my paper template on the head.
I used the jigsaw and if you havent tried, sawing in maple is not
easy. Its very hard wood
I can recommend that you saw a couple of
millimeters outside the final outline.
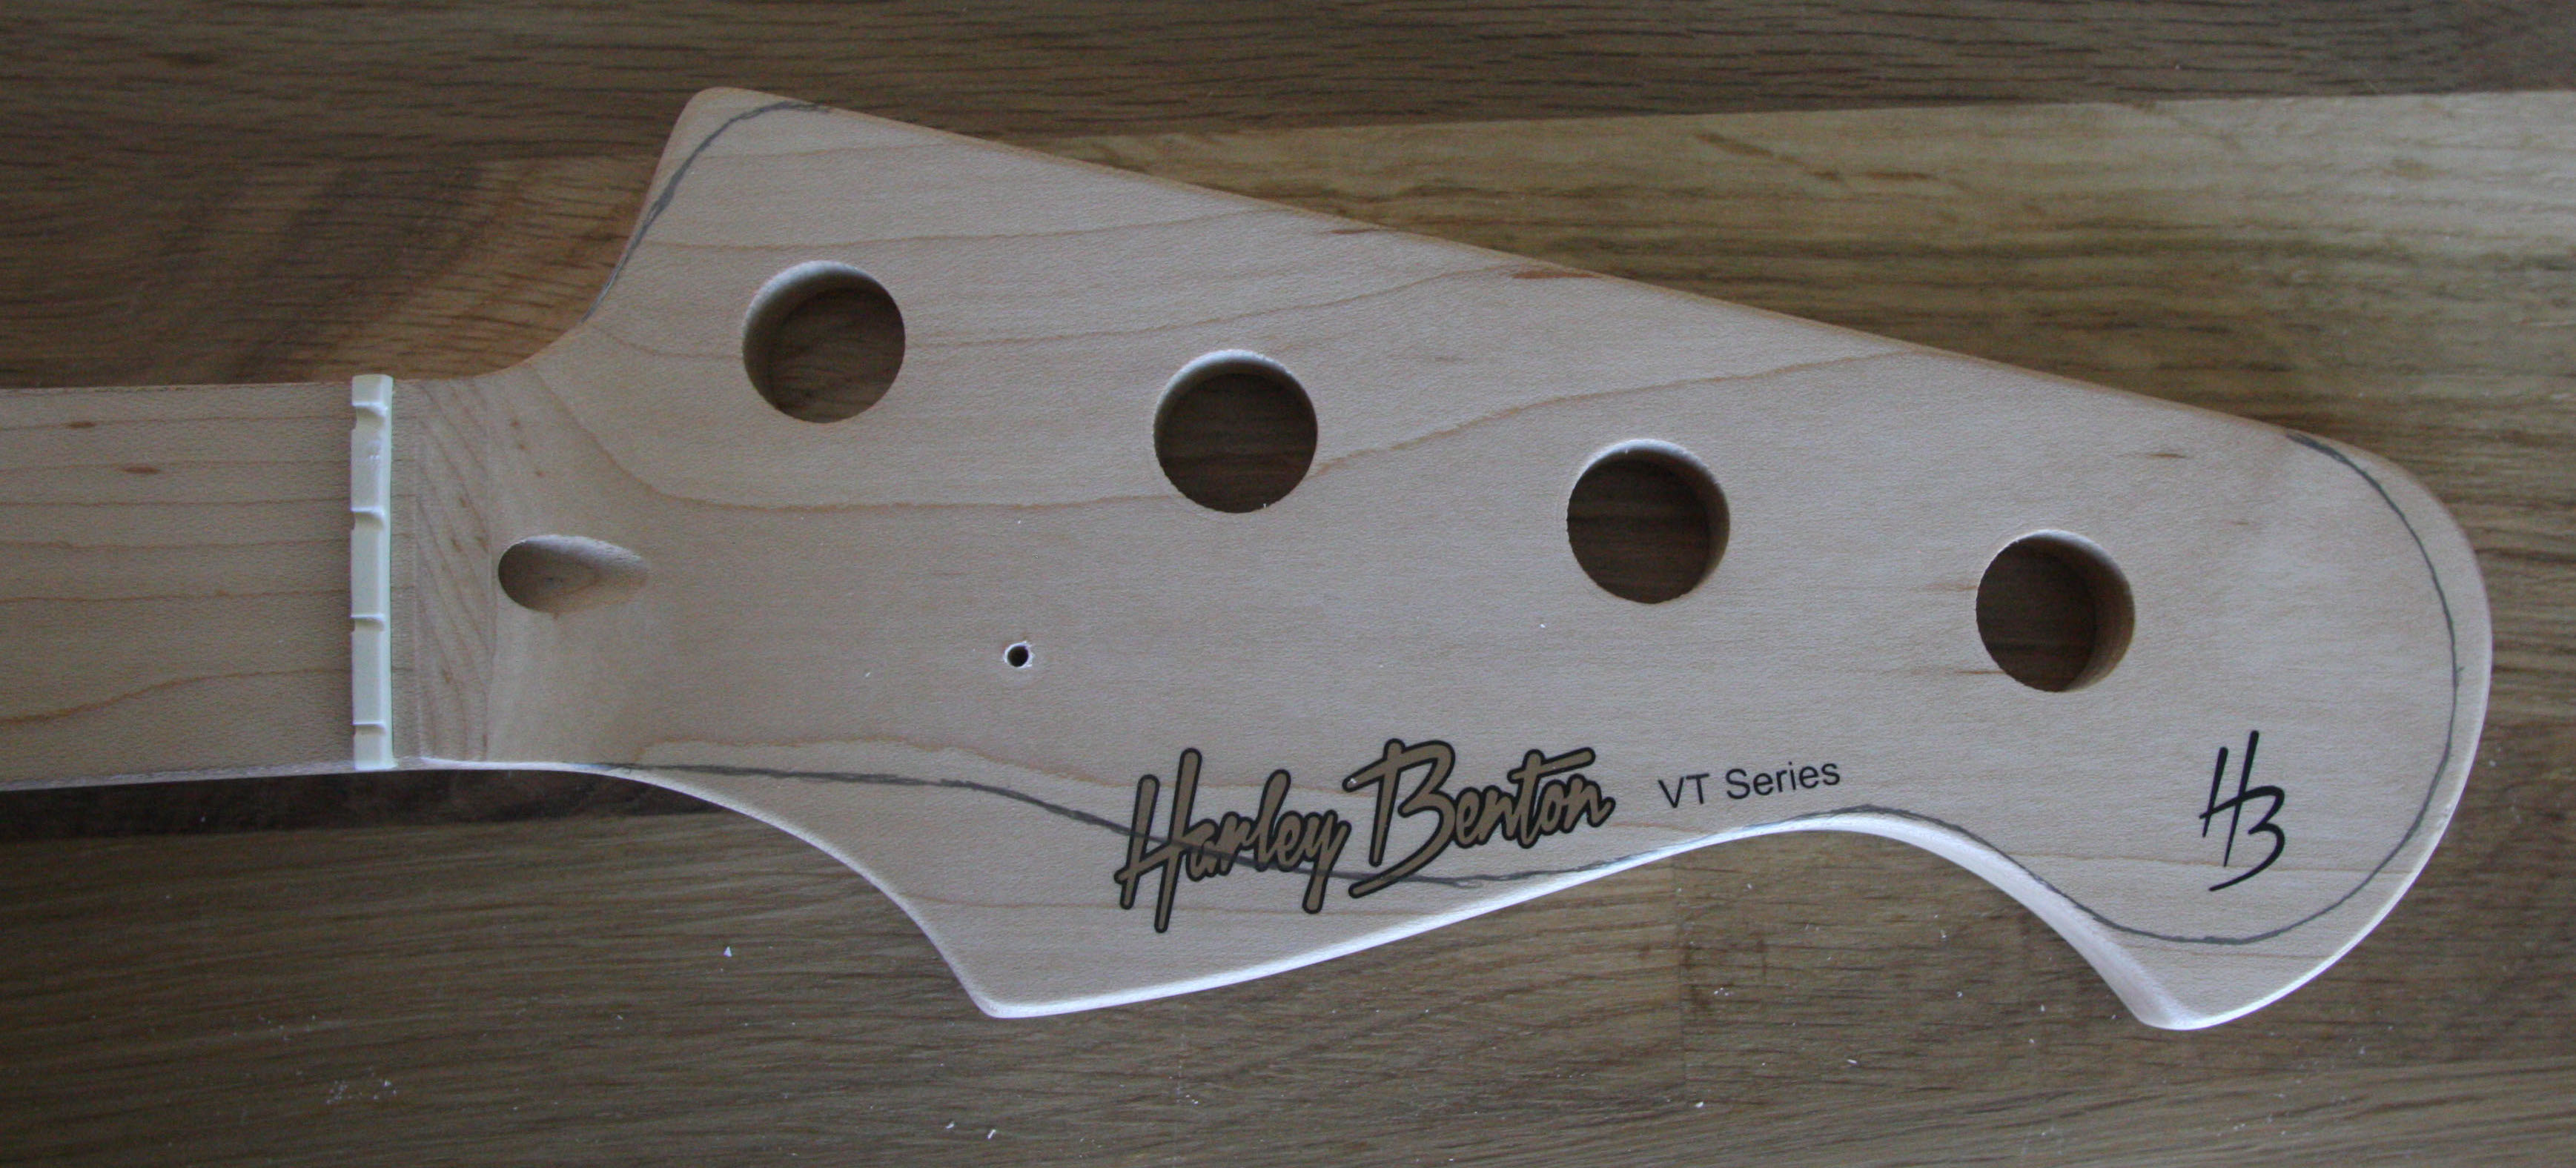
After the rough sawing, I first used my belt grinder with 180-grade
paper. Even with fine-grade paper, you have to take it quite easy. The
belt grinder can easily destroy whatever youre sanding. But the
combination of such fine-grade paper and the very hard maple wood made
it quite easy. As usual, make a trial run on a piece of scrap wood.
After that, I used ordinary sanding paper with either my hand or a
cork block. And when I was finally satisfied with the form and finish,
I used steel wool to polish away any roughness.
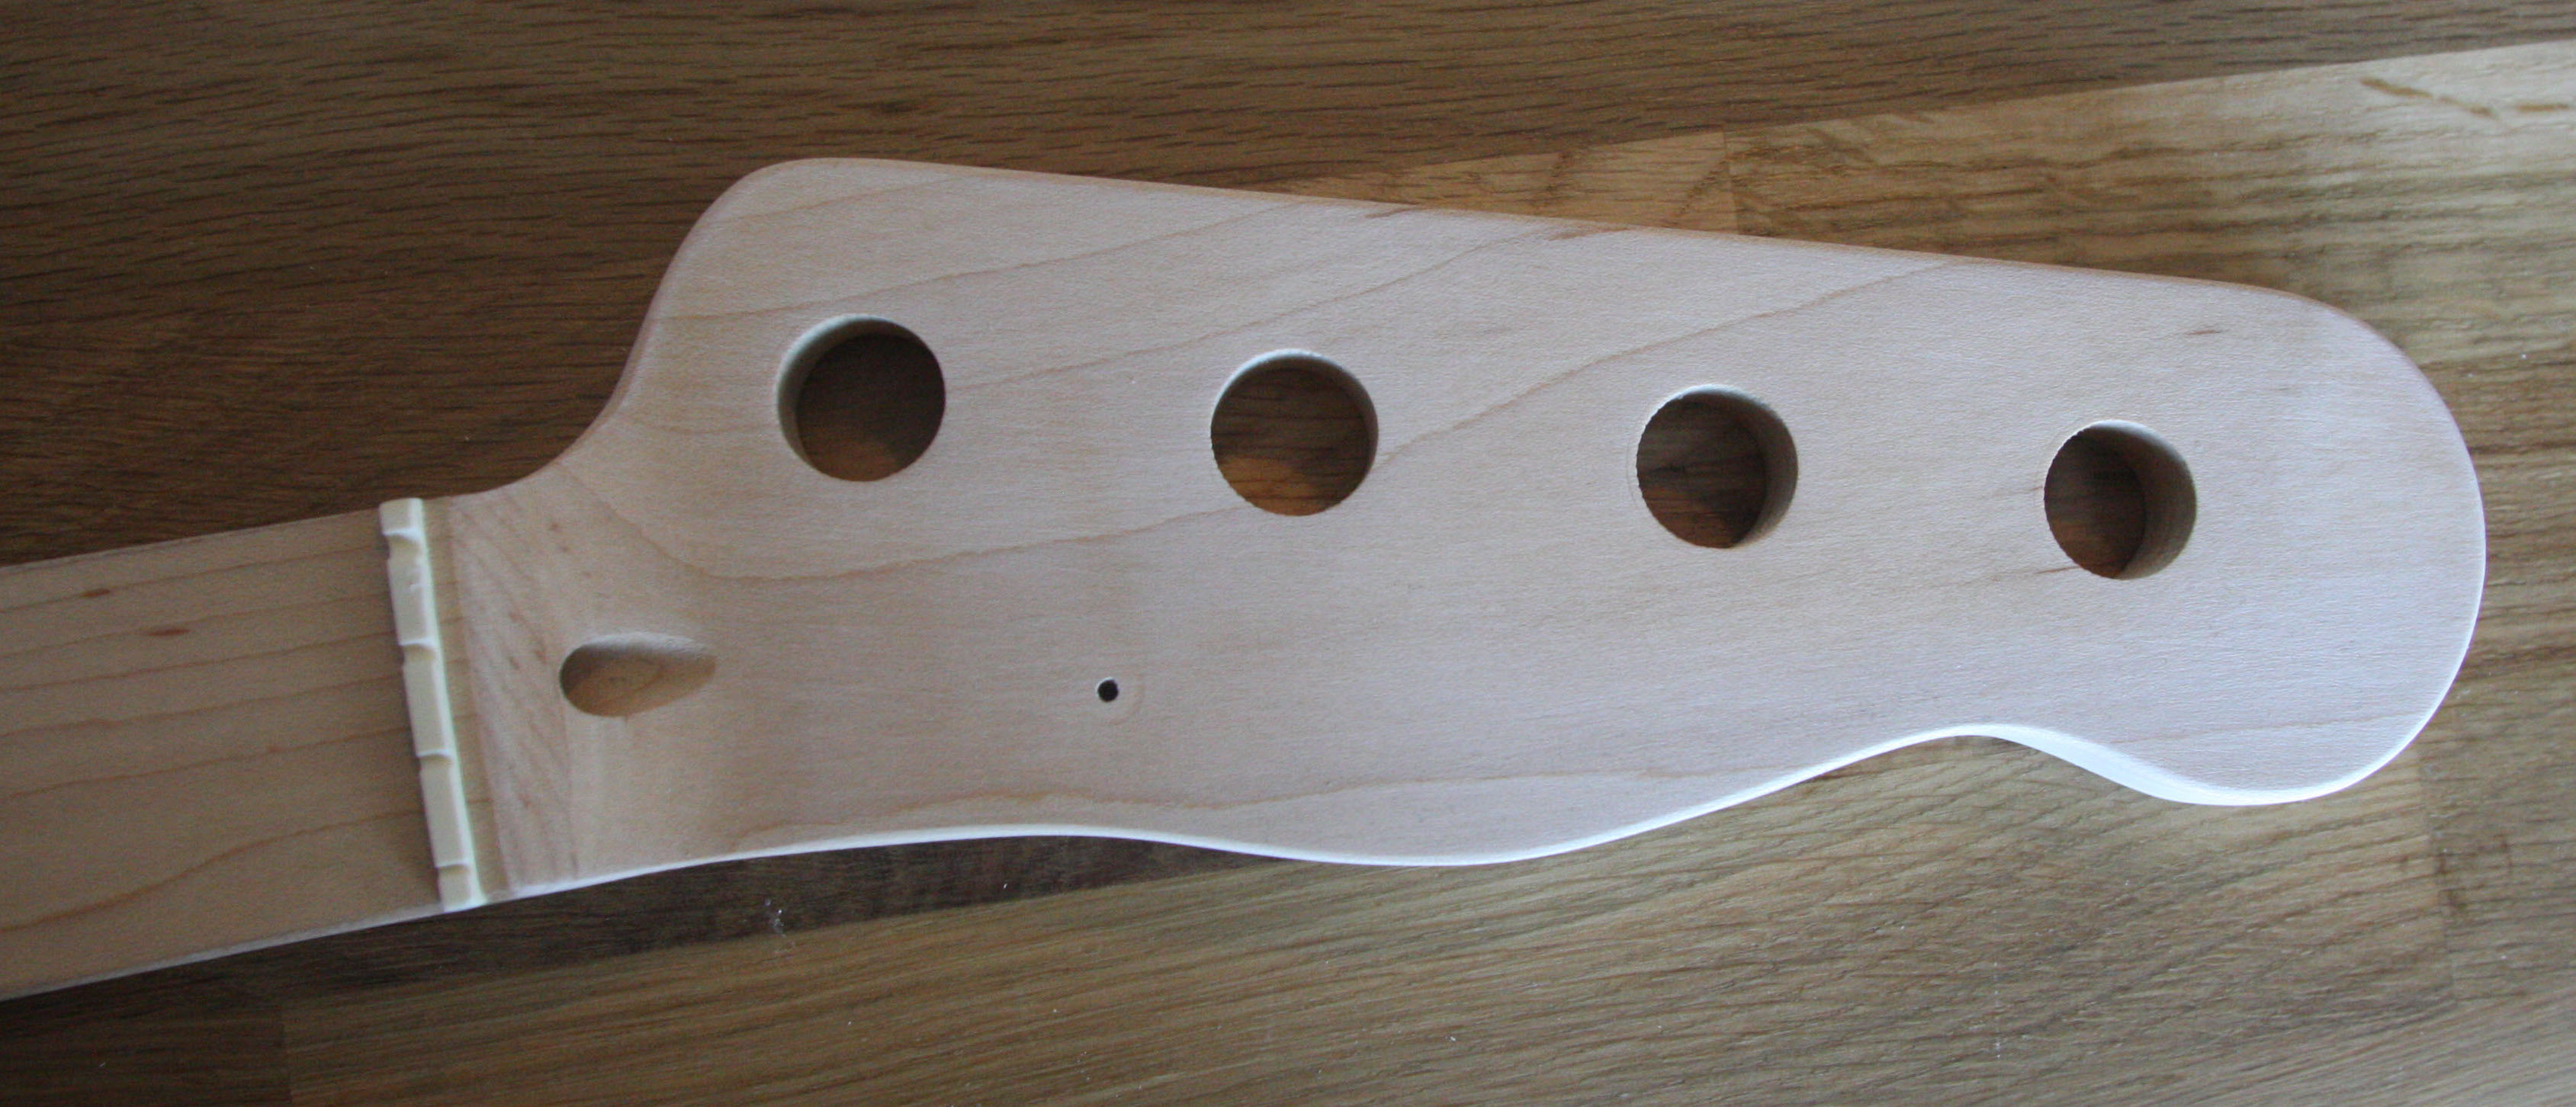
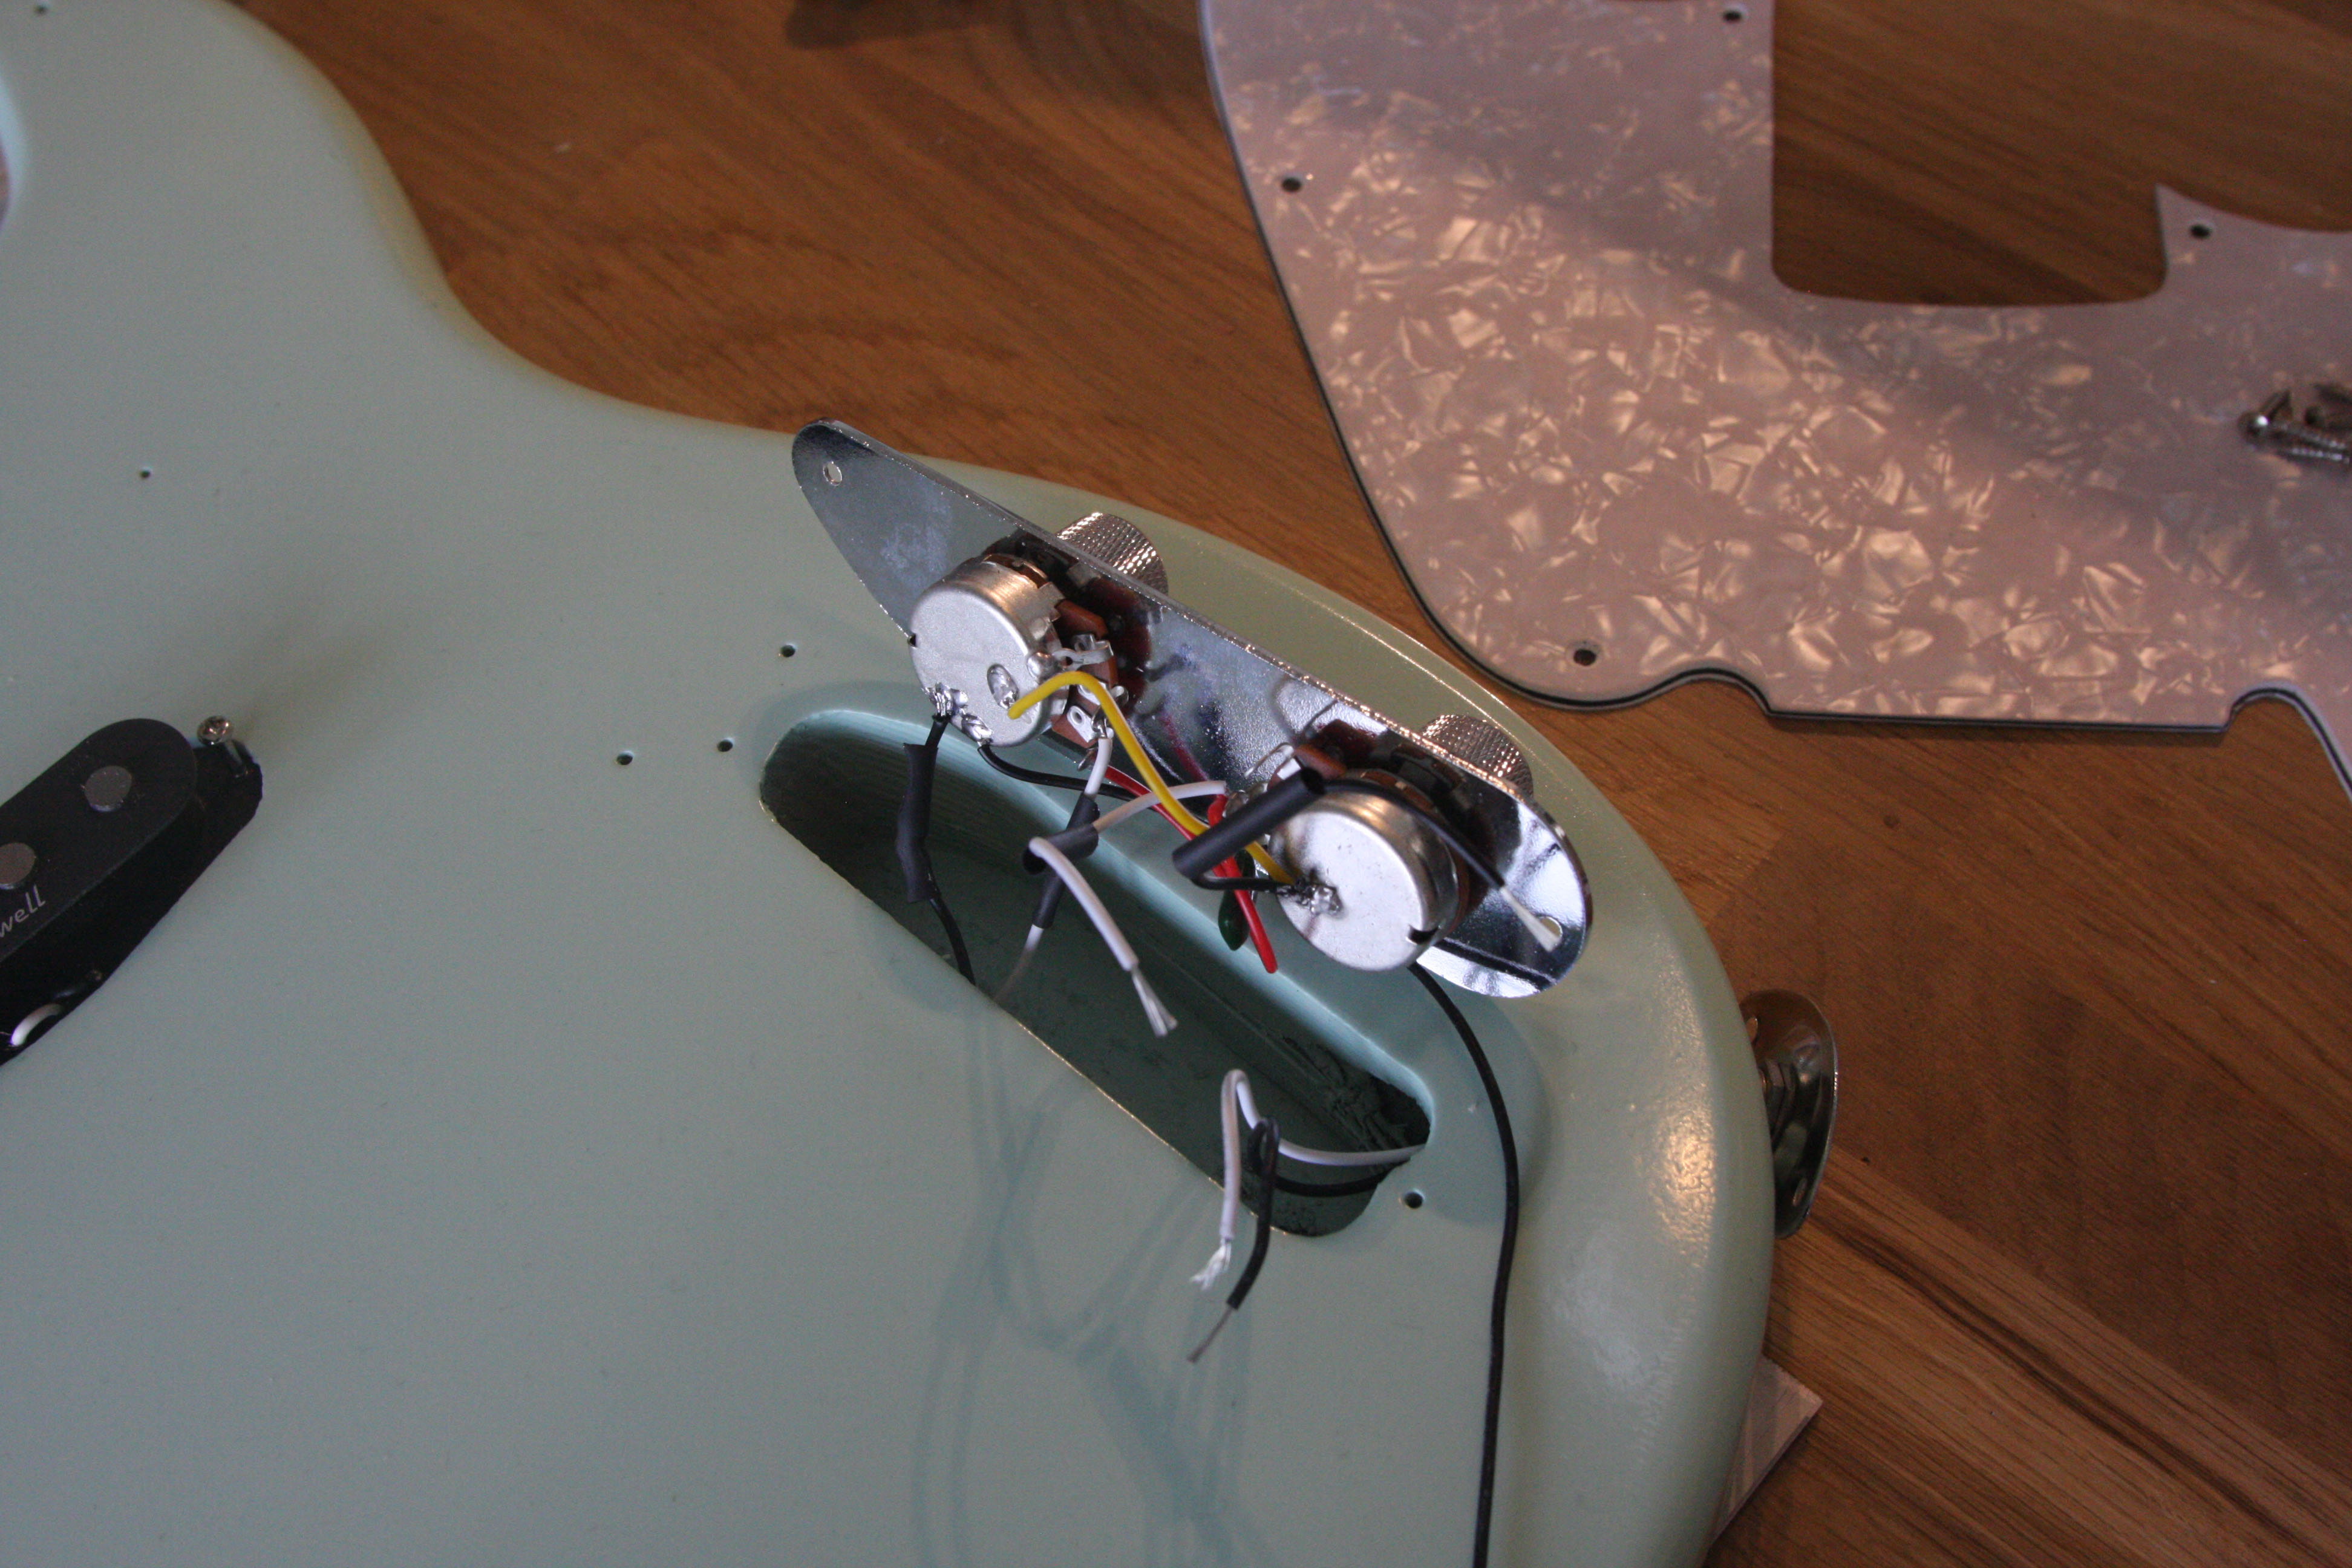
When I had put the neck back on the body and reassembled the hardware
and put the strings back, I tuned the bass and played for 30 minutes.
And noted that although the strings and neck had been off, it kept in
tune. Good hardware!
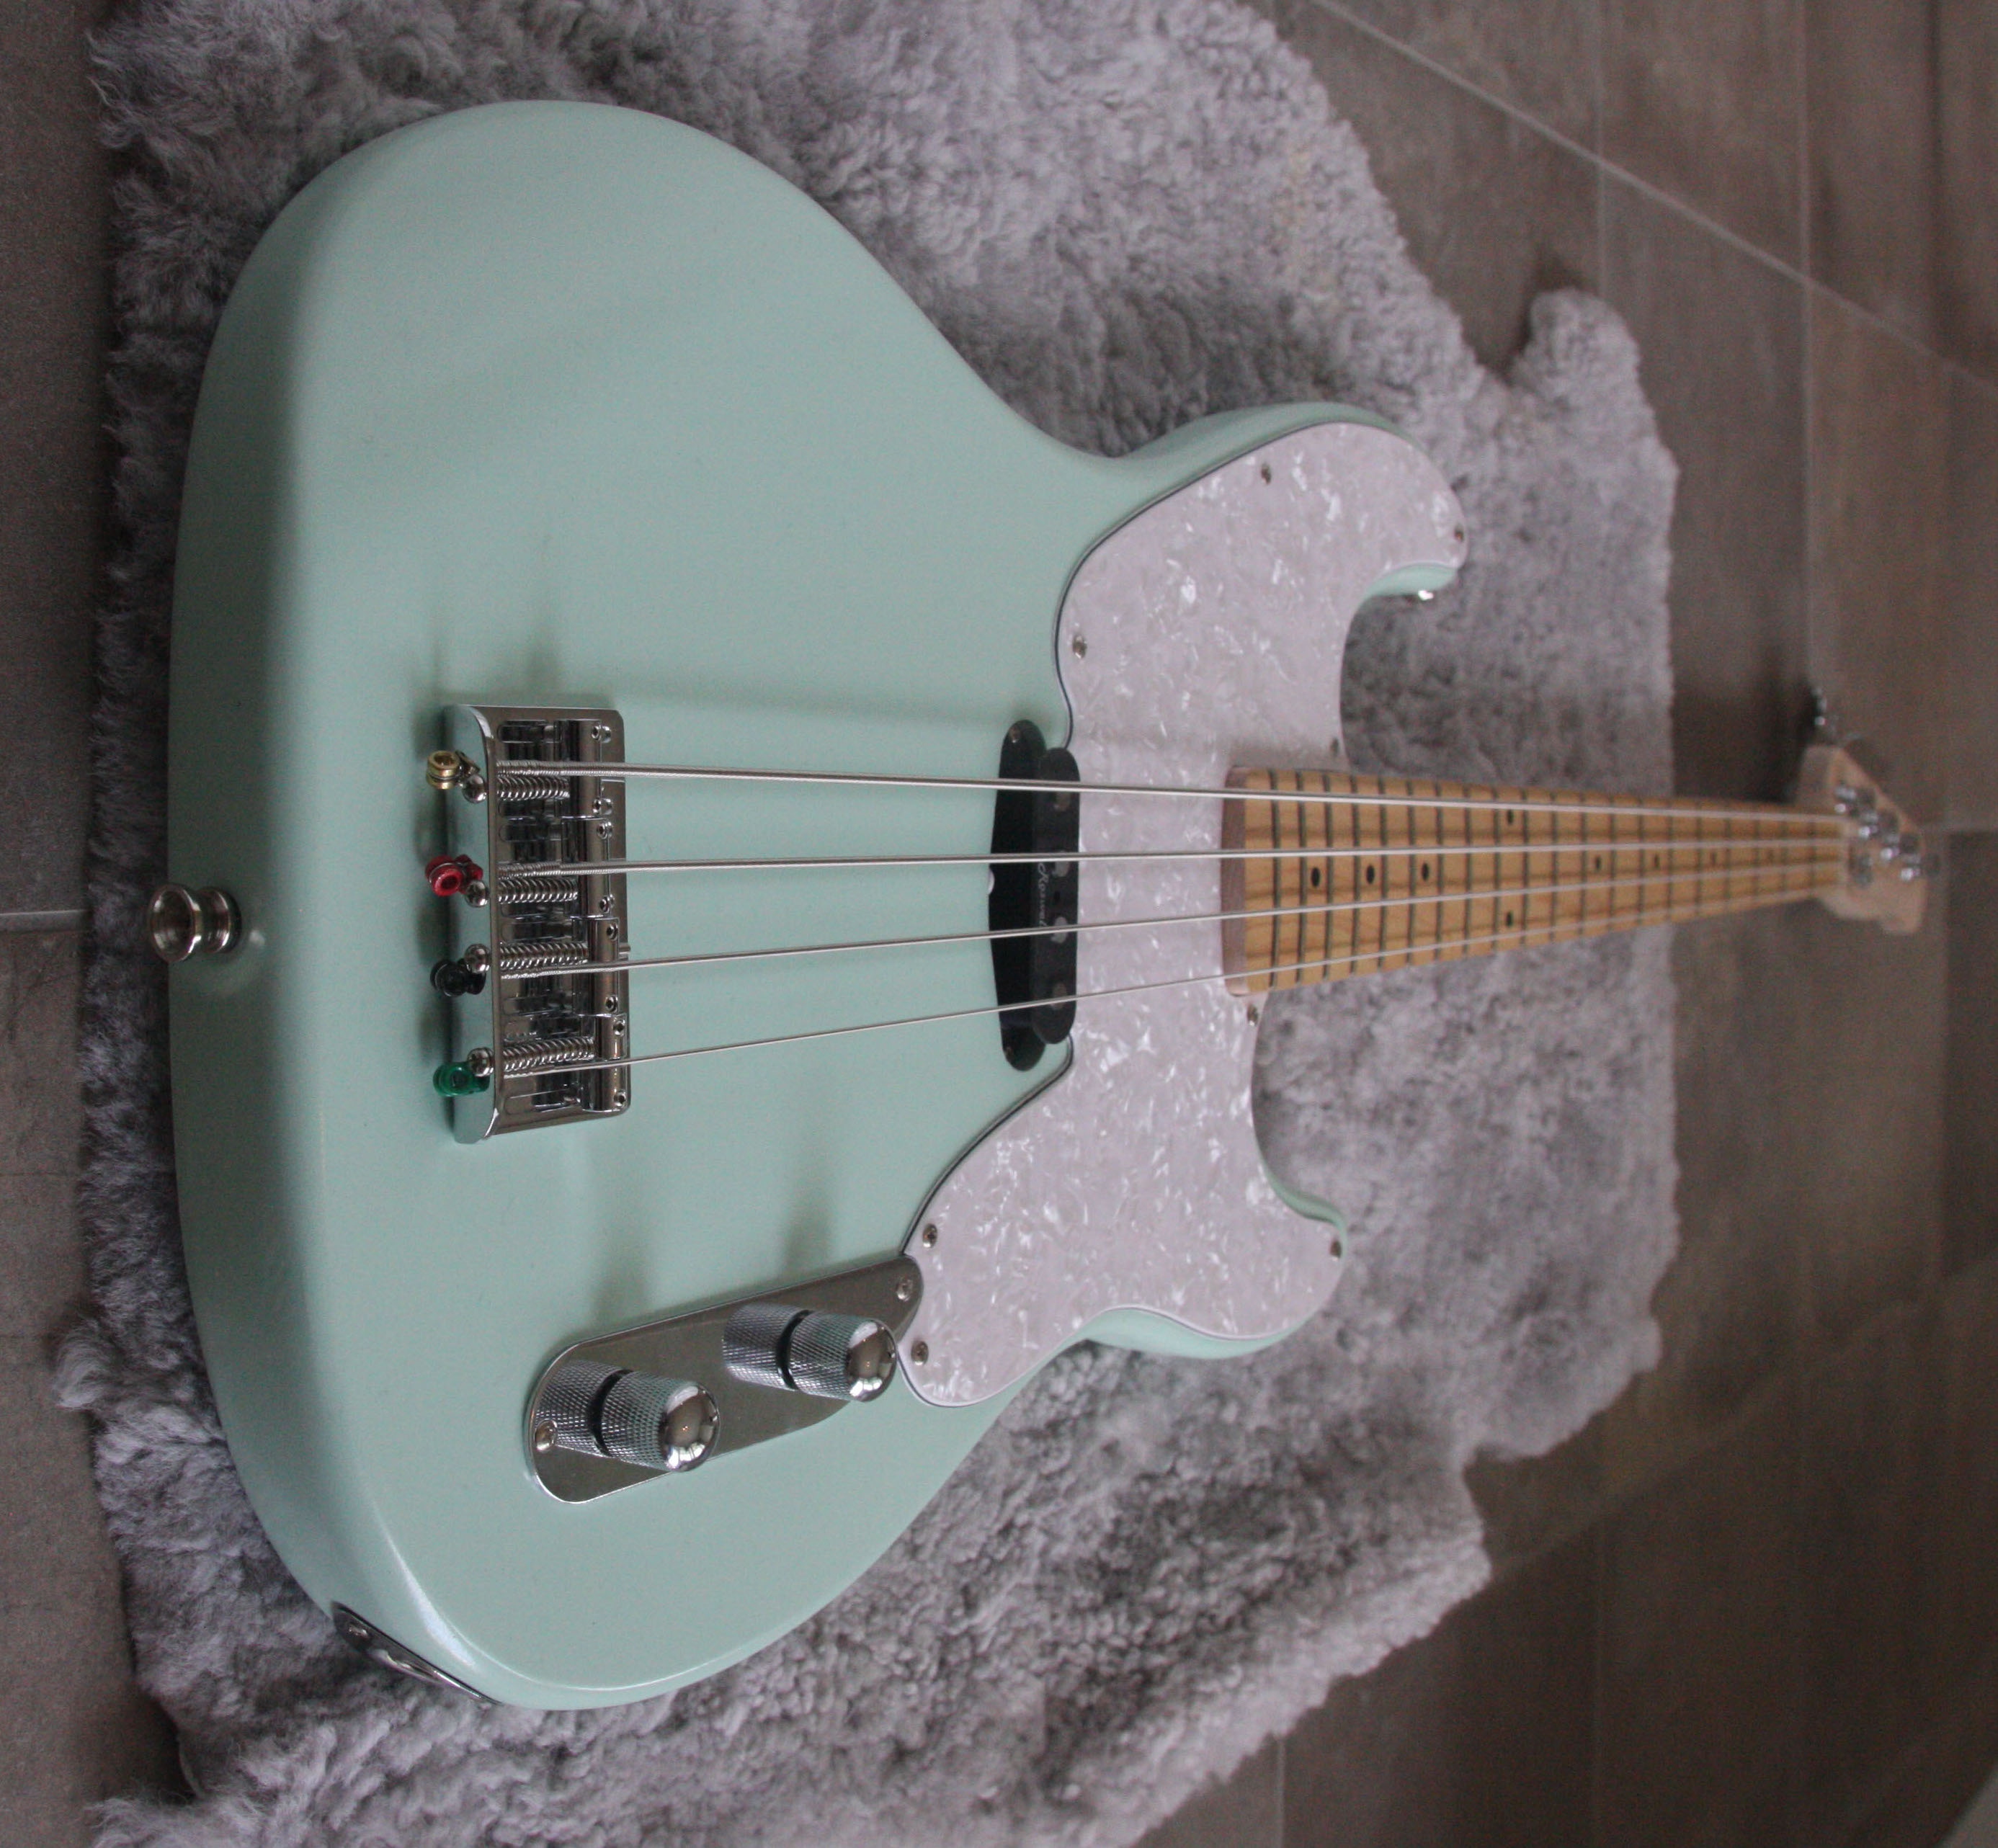
Surf Green paint job
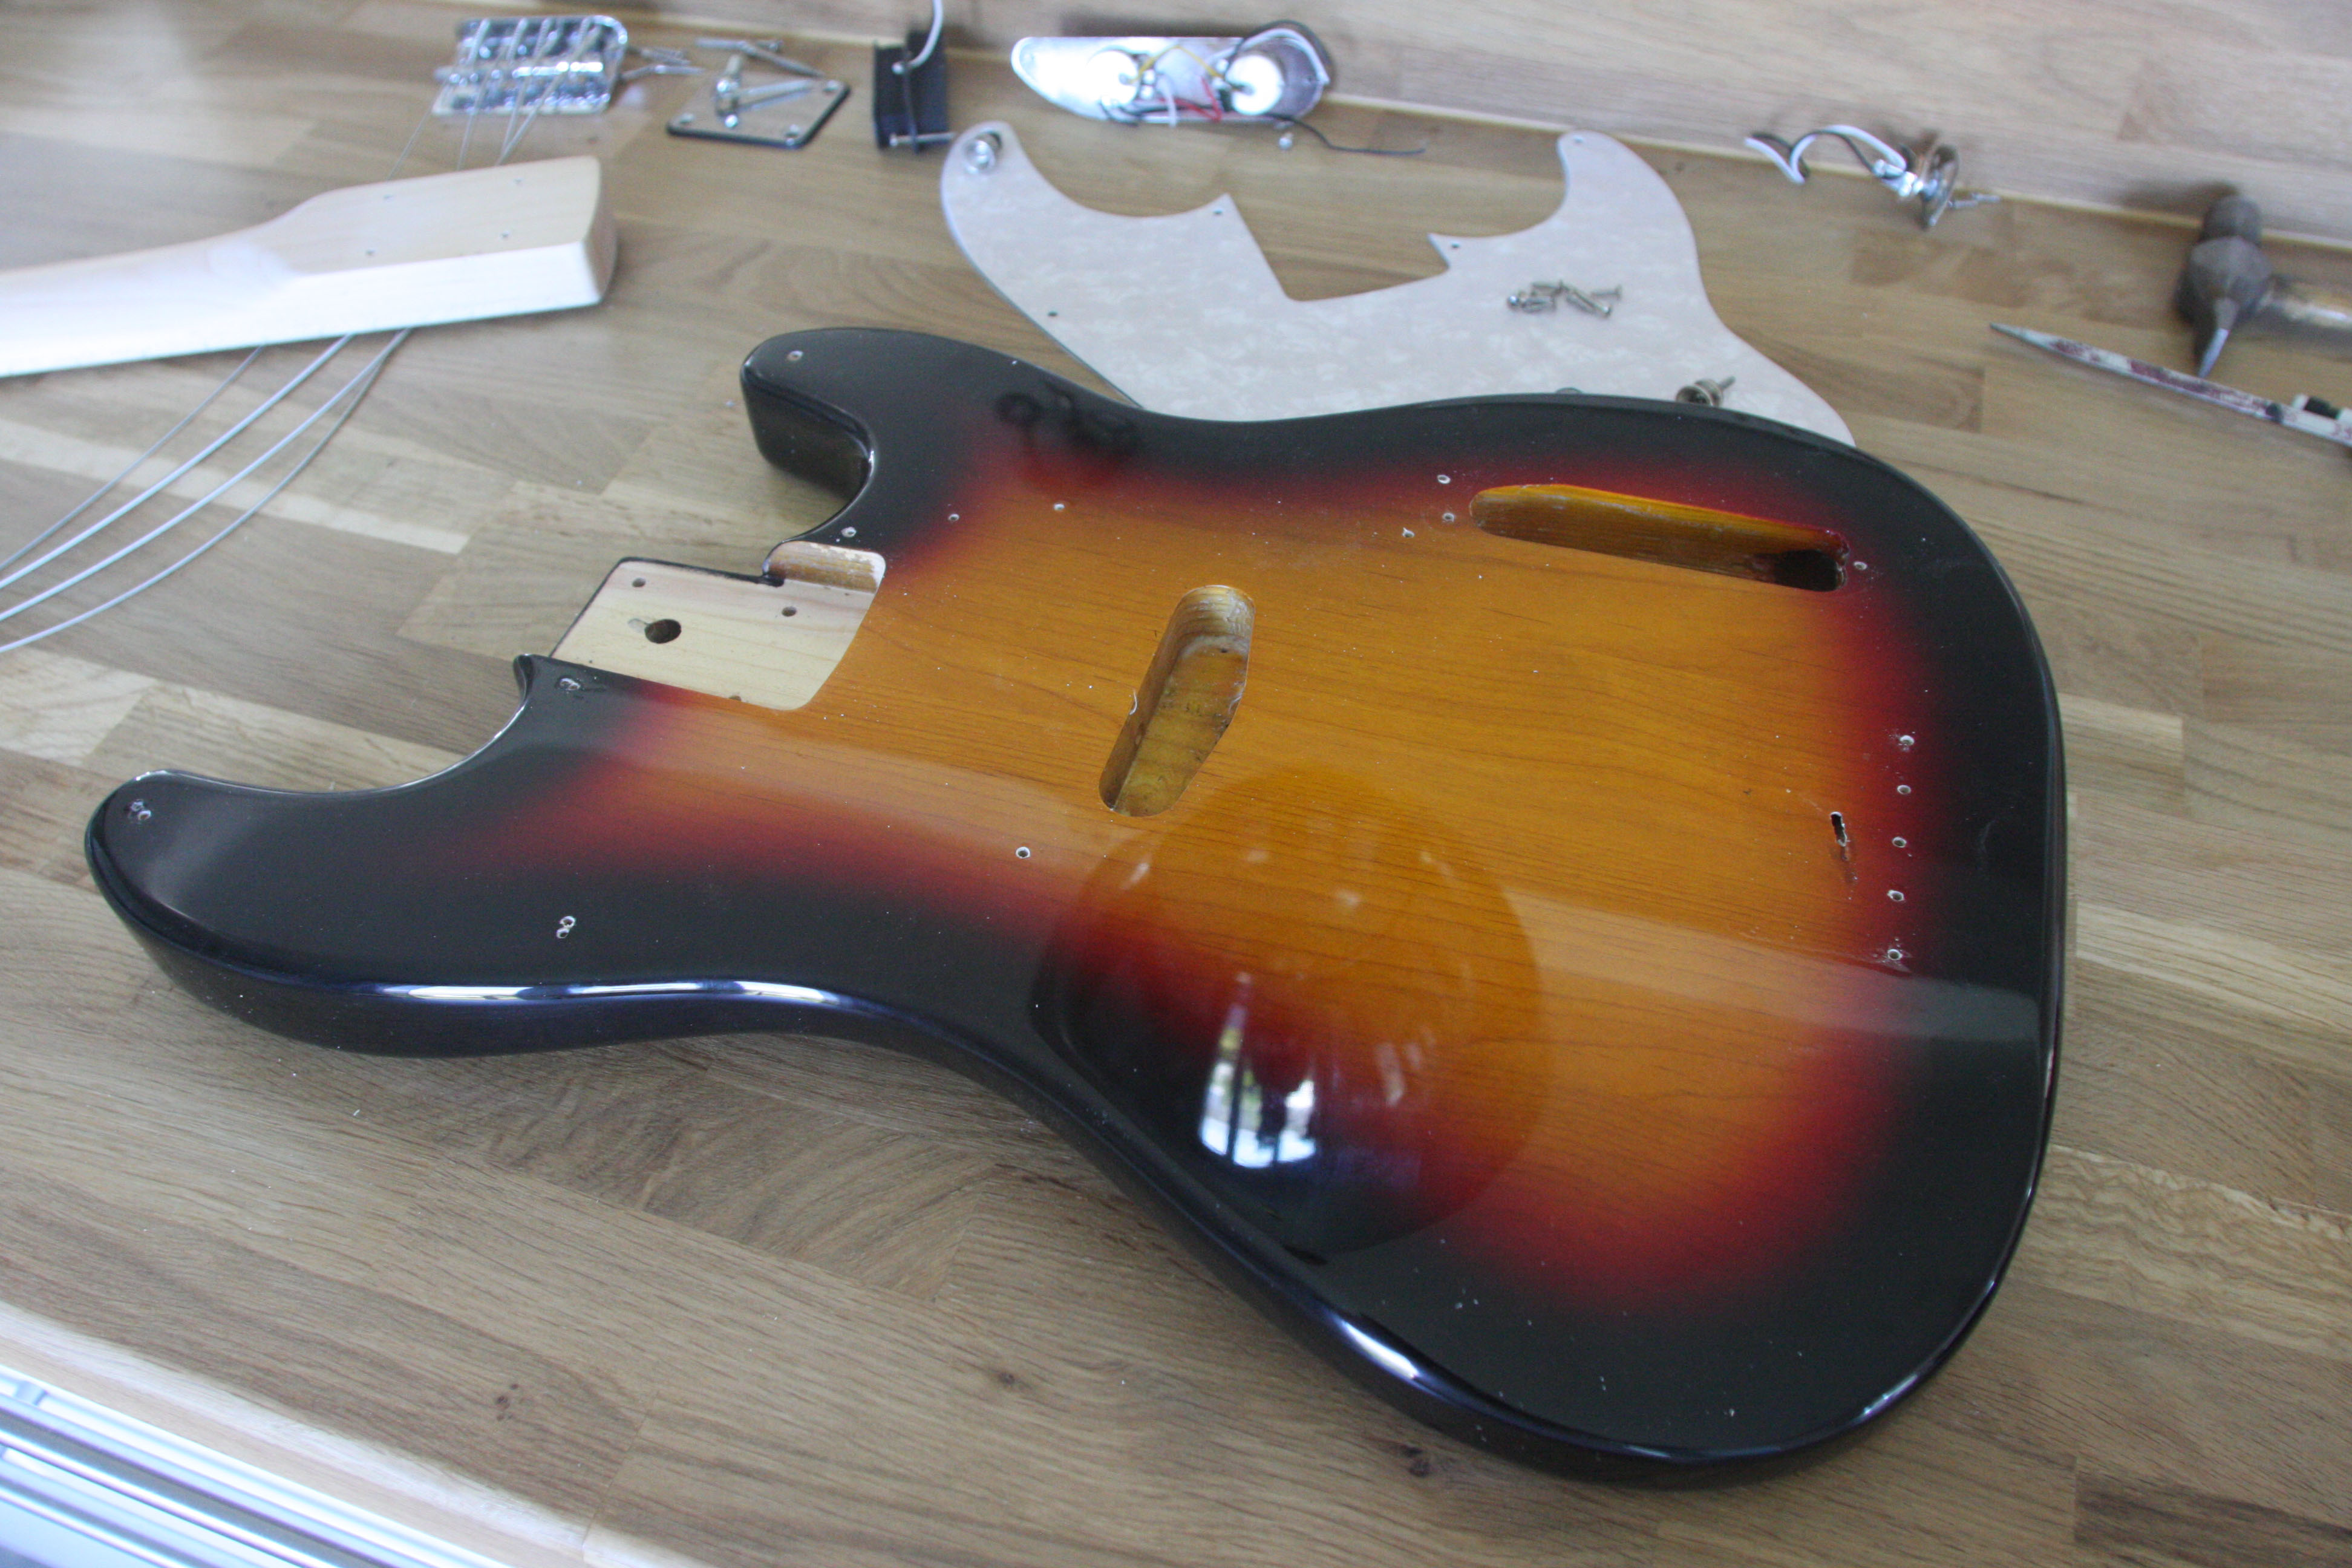
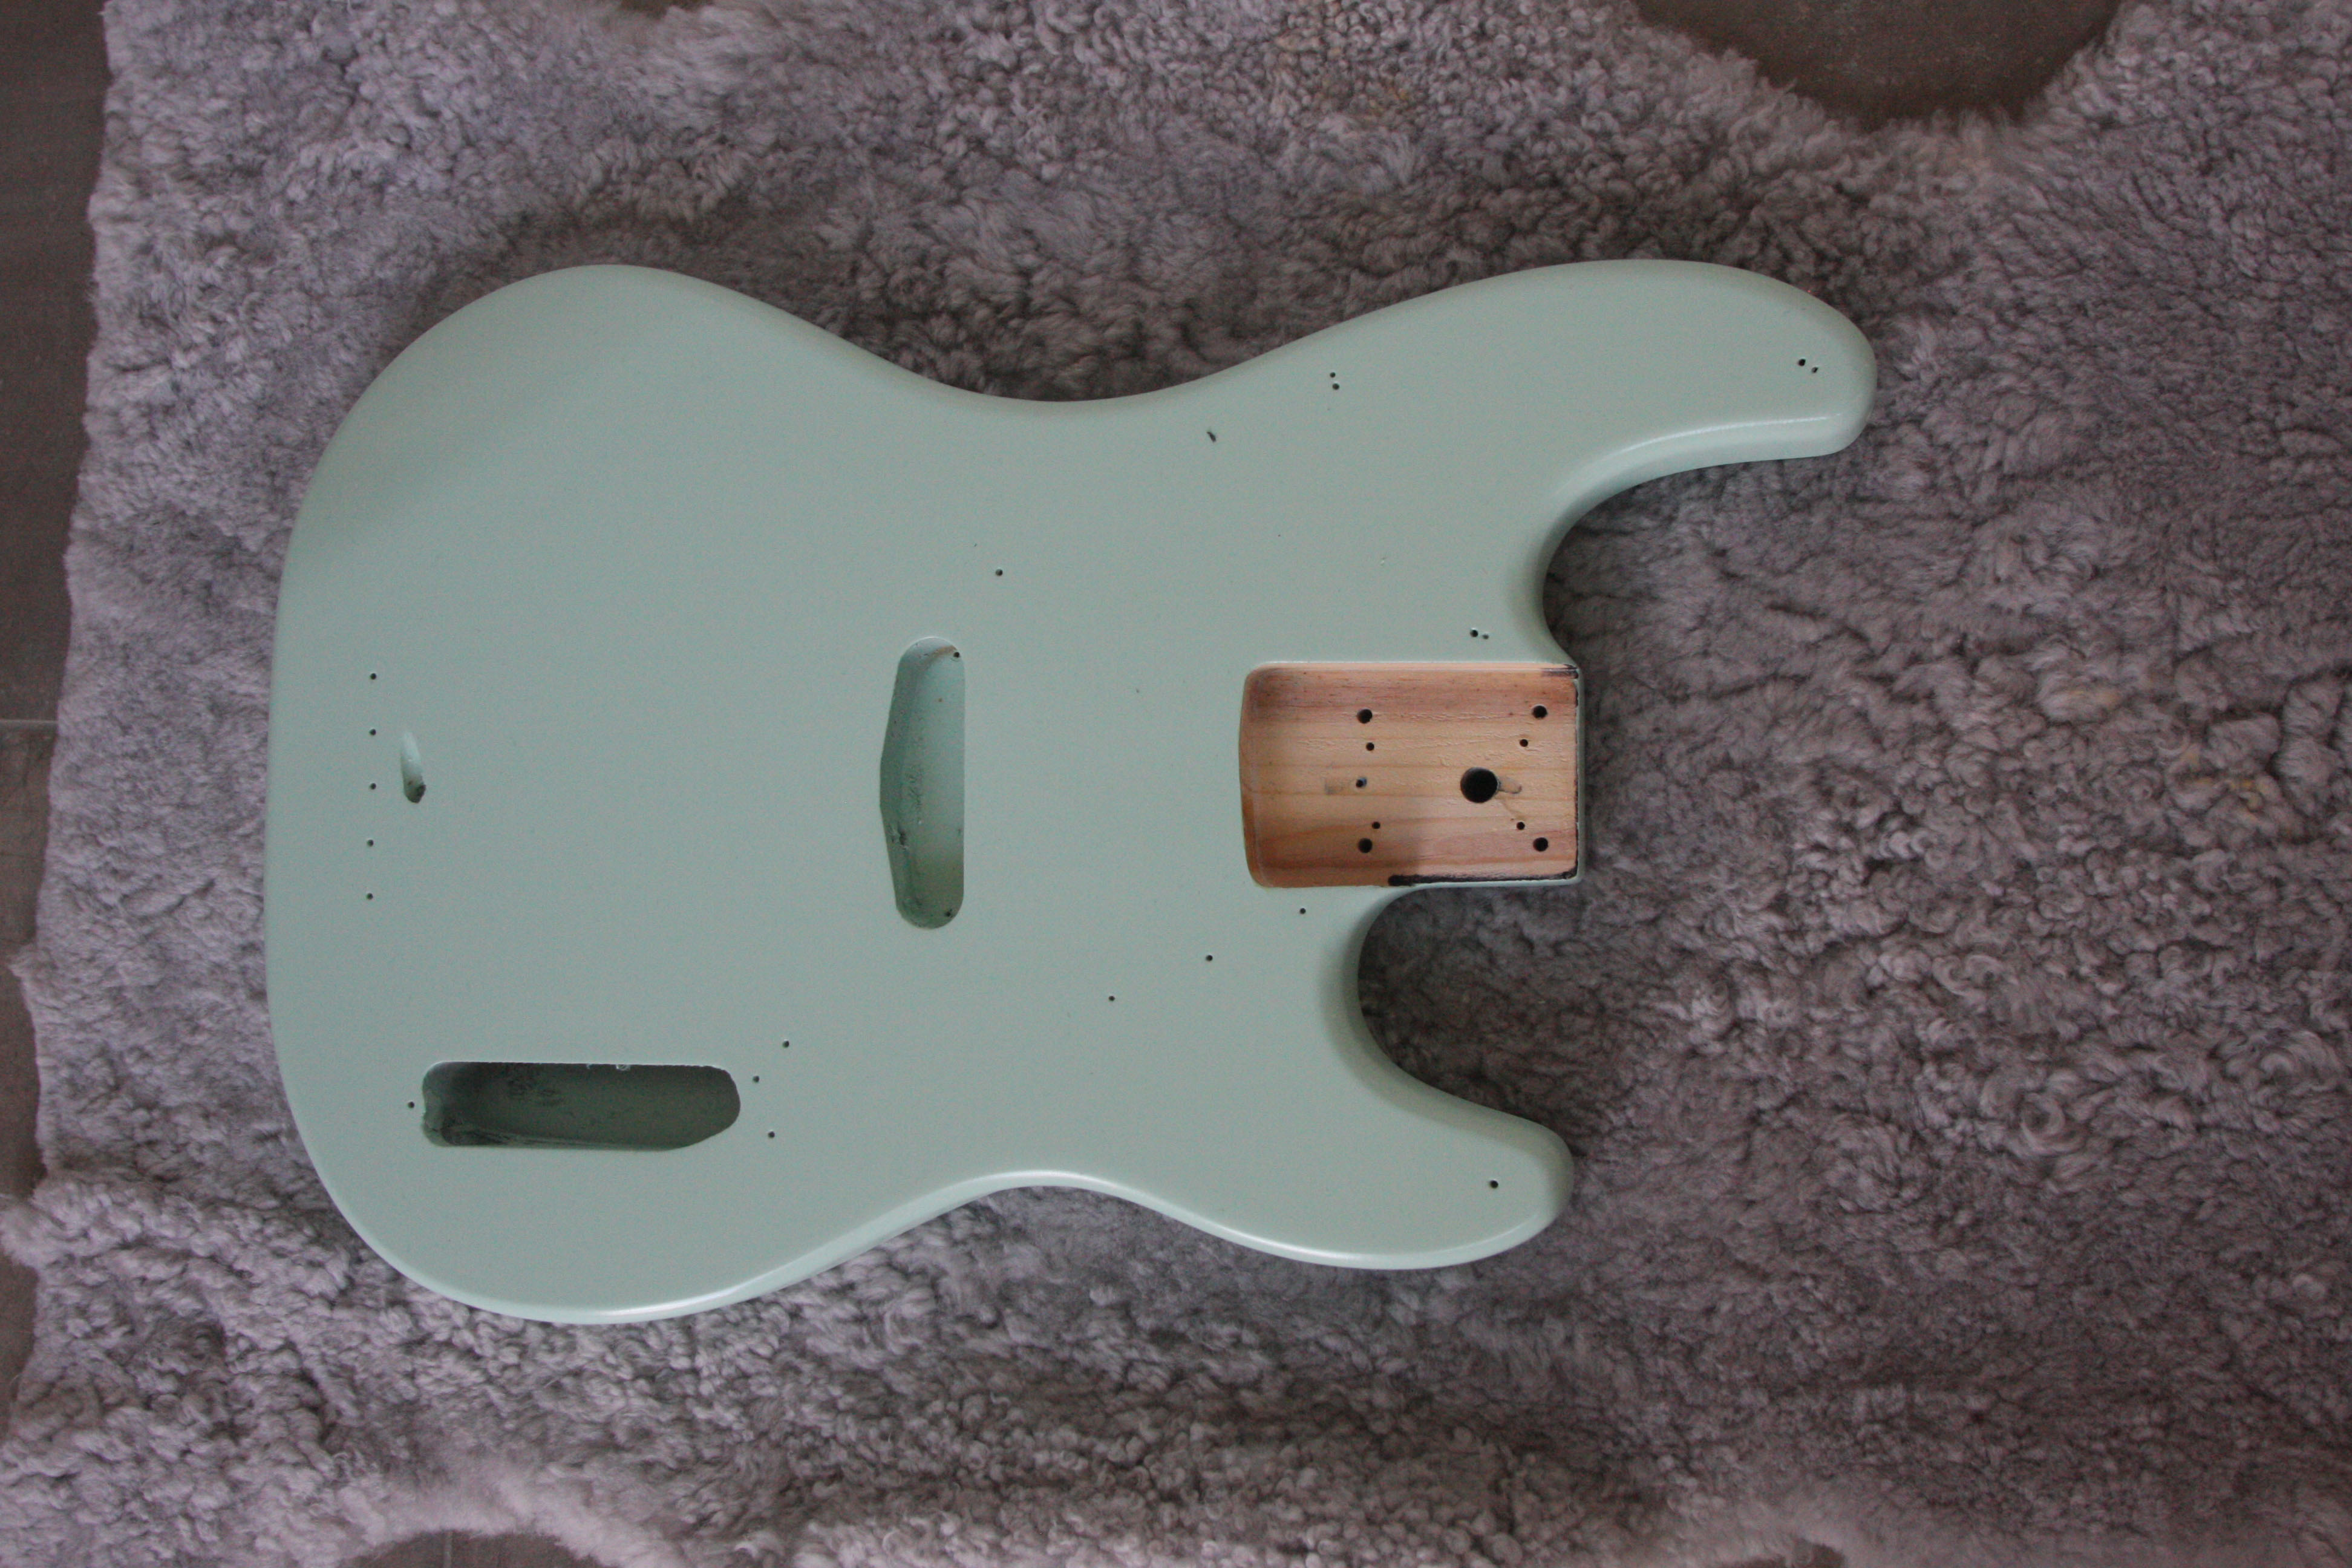
I started by disassembling the entire bass. Only the stripped body remained. I ordered the Sunburst version because I thought it would be easier to remove the paint and clear coat. Later, I learned that the manufacturer puts a wood-grain imitation film on the front and back. And I can tell you, that film was a bitch to sand away. In retrospect, I should have ordered the Fiesta Red version...
Regarding the sanding: First, I used 60-grade paper on a rotating machine and sanded by hand where I couldnt use the machine. I then used 120-grade paper manually and with a cork block. Last, I used 320-grade wet paper. First with water and then without. A pity, I forgot to take pictures of the sanding process. This, however, is no catastrophe. Everyone knows how a piece of sanded wood looks.
This looks like something out of a horror movie. The place where you can kill someone without risking blood spatter all over the place...
But
it
looks worse than it is. I created a paint cabinet from clear plastic
that I stapled to the ceiling in my garage. Two advantages: I minimize
the risk of painting everything in the garage. Plus I minimize the
risk of getting dust particles in the drying paint.
I first tested my new paint
gun on a piece of board with another paint in order not to waste the
Surf Green Nitro Cellulose paint. And then it was time to try the Surf
Green. I painted one coat and it was actually easier than I thought.
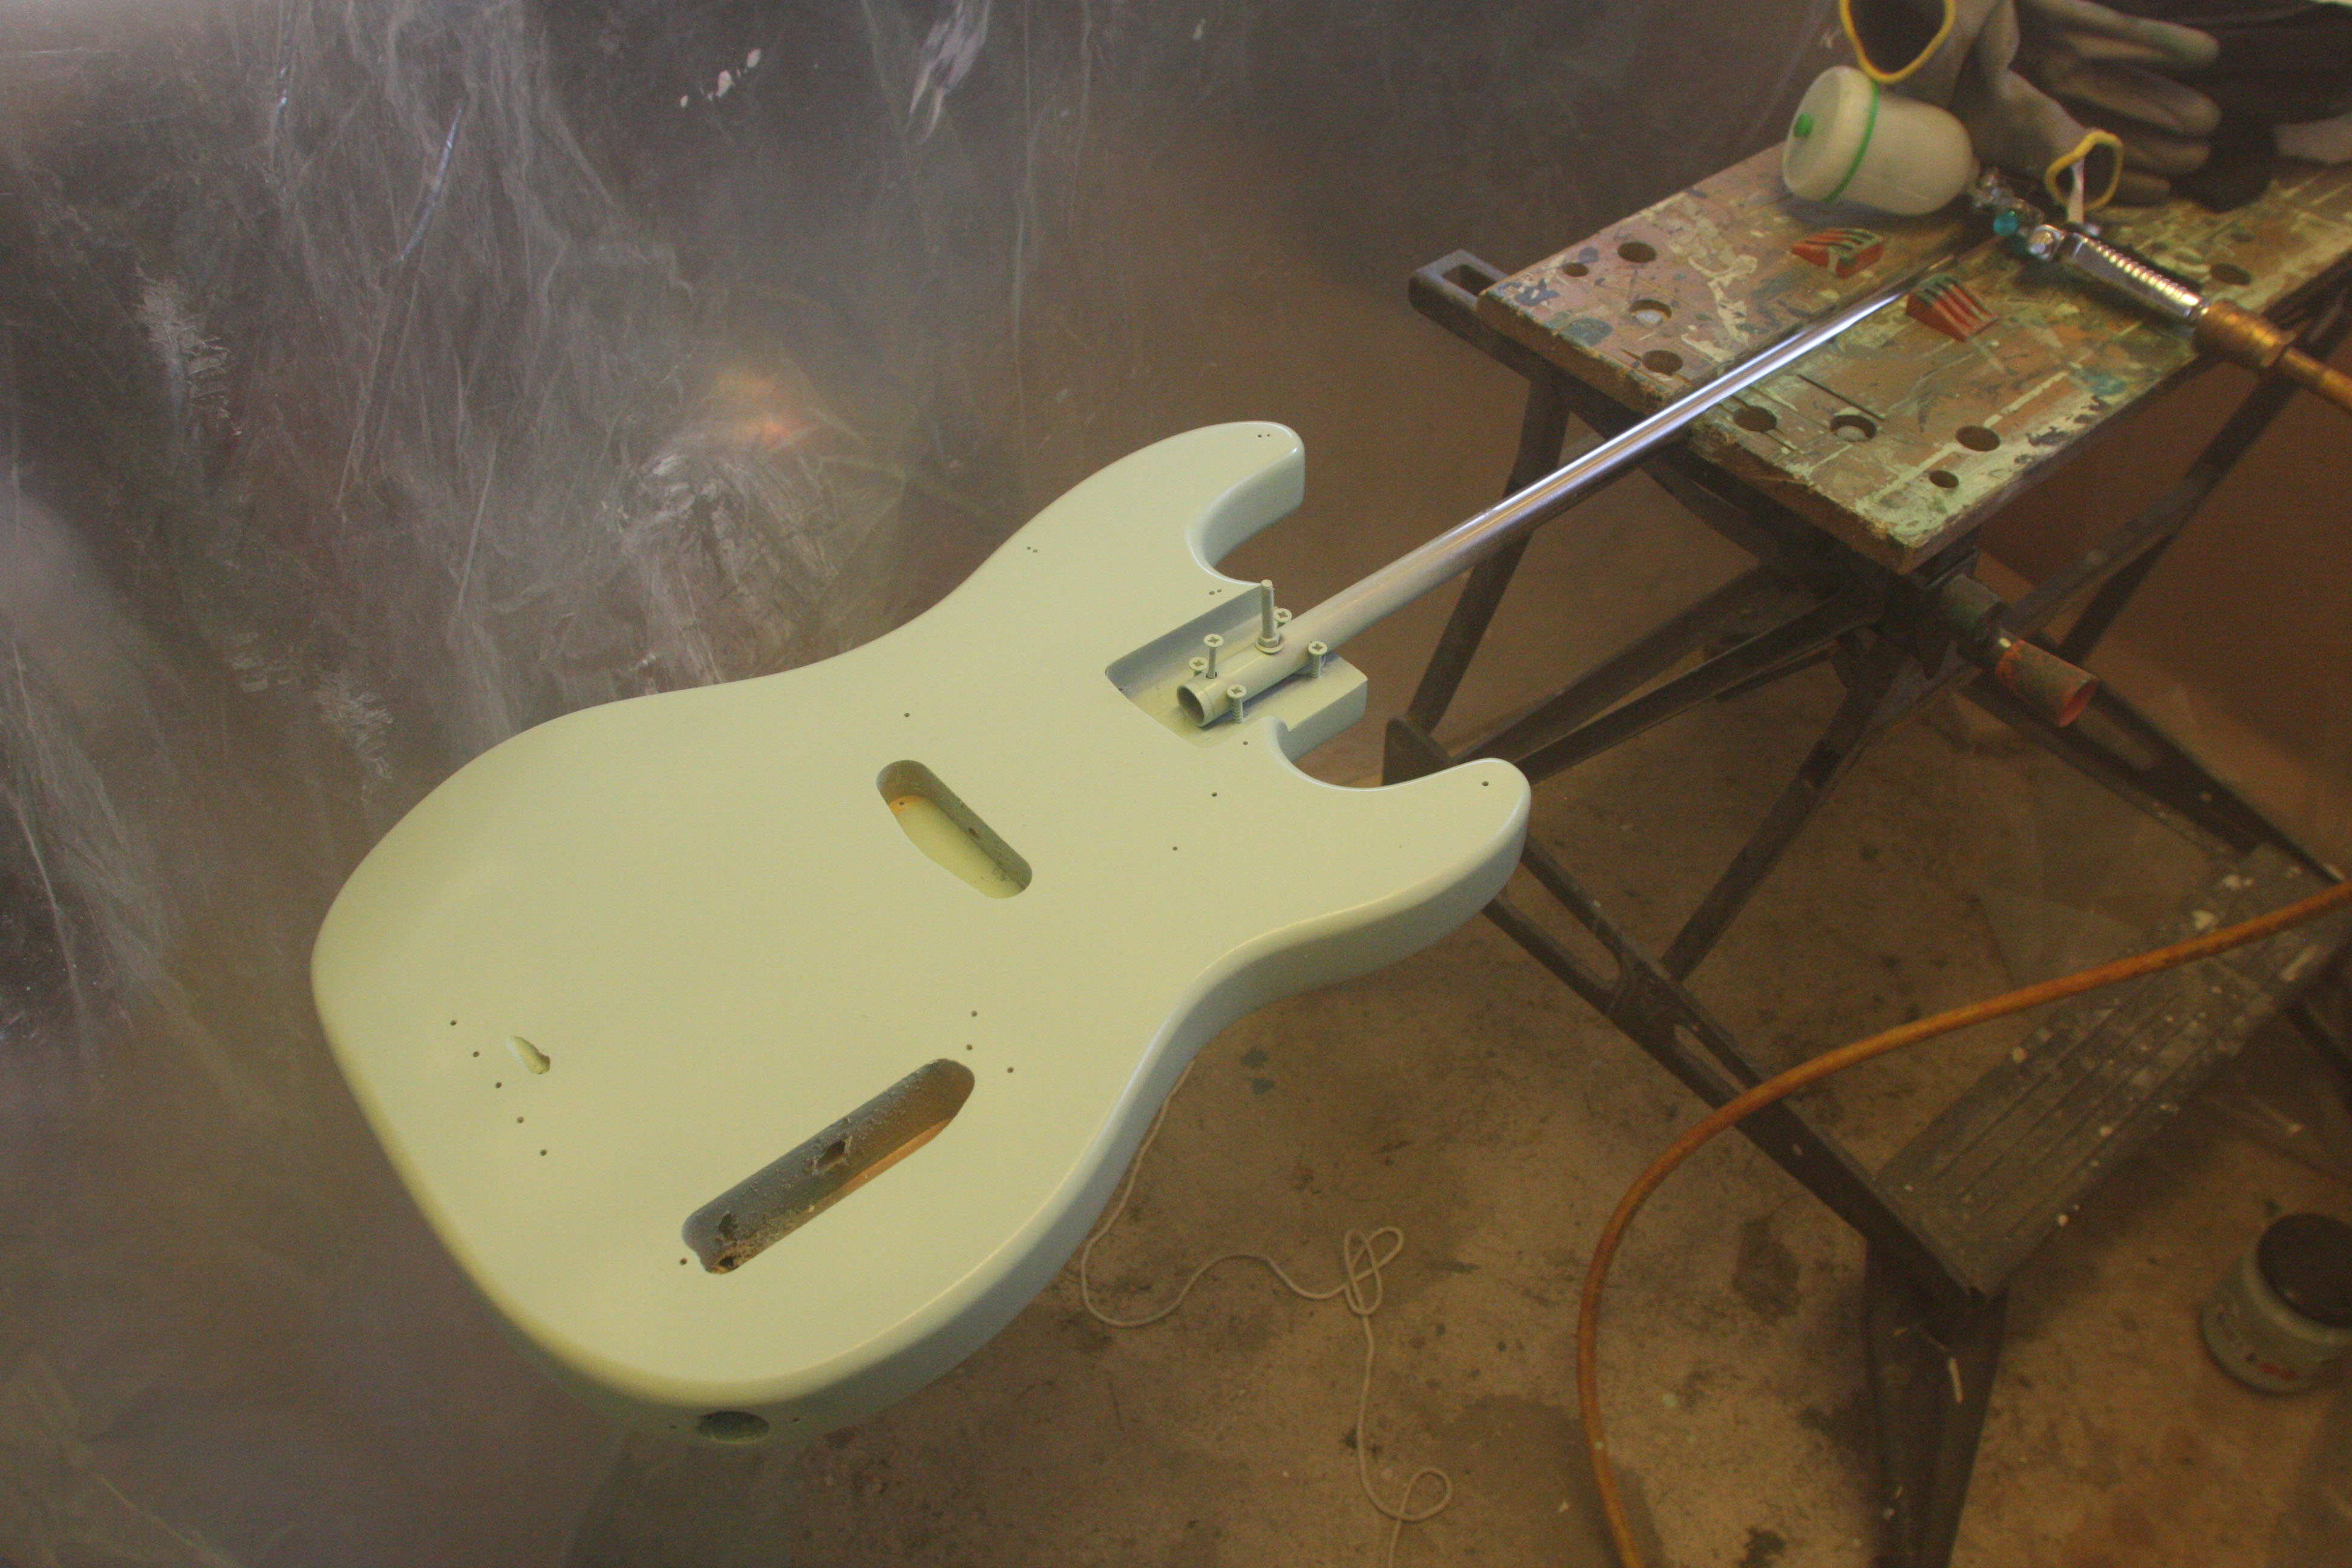
I put masking tape in the neck pocket and then took a piece of steel tube that I fastened in the pocket. This way, I could put the tube in my work bench and rotate it to avoid paint runs.
I
went on painting one coat a day. Not easy to paint with the
nitro-cellulose paint. It runs very easily. In the end, it turned out
I had to sand away both paint runs and specks of dust that had managed
to get into my 'paint cabinet'. And buy a can of clear coat lacquer...
I decided to use a water-based
clear lacquer made for parquet floors. It was actually quite
easy to spray it with my paint gun. Being water-based, it takes longer
to dry so I just had to wait
Re-assembly
The big day had finally come. I went to the garage and brought the body to the kitchen. It certainly has its advantages when the wife is at the summer house and I can turn the kitchen island into a guitar workshop